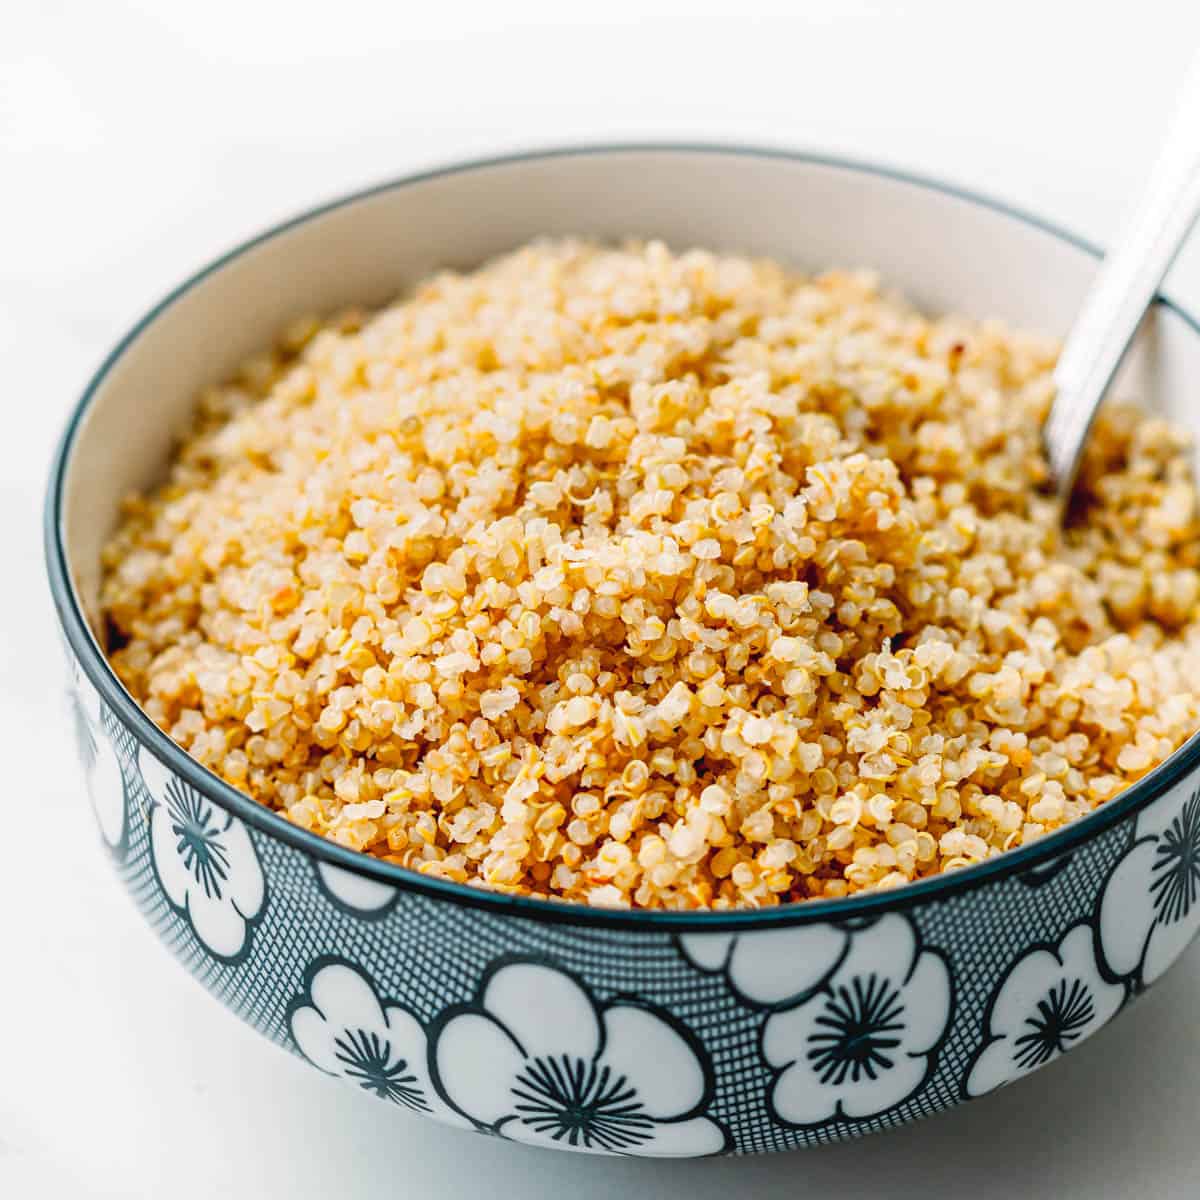
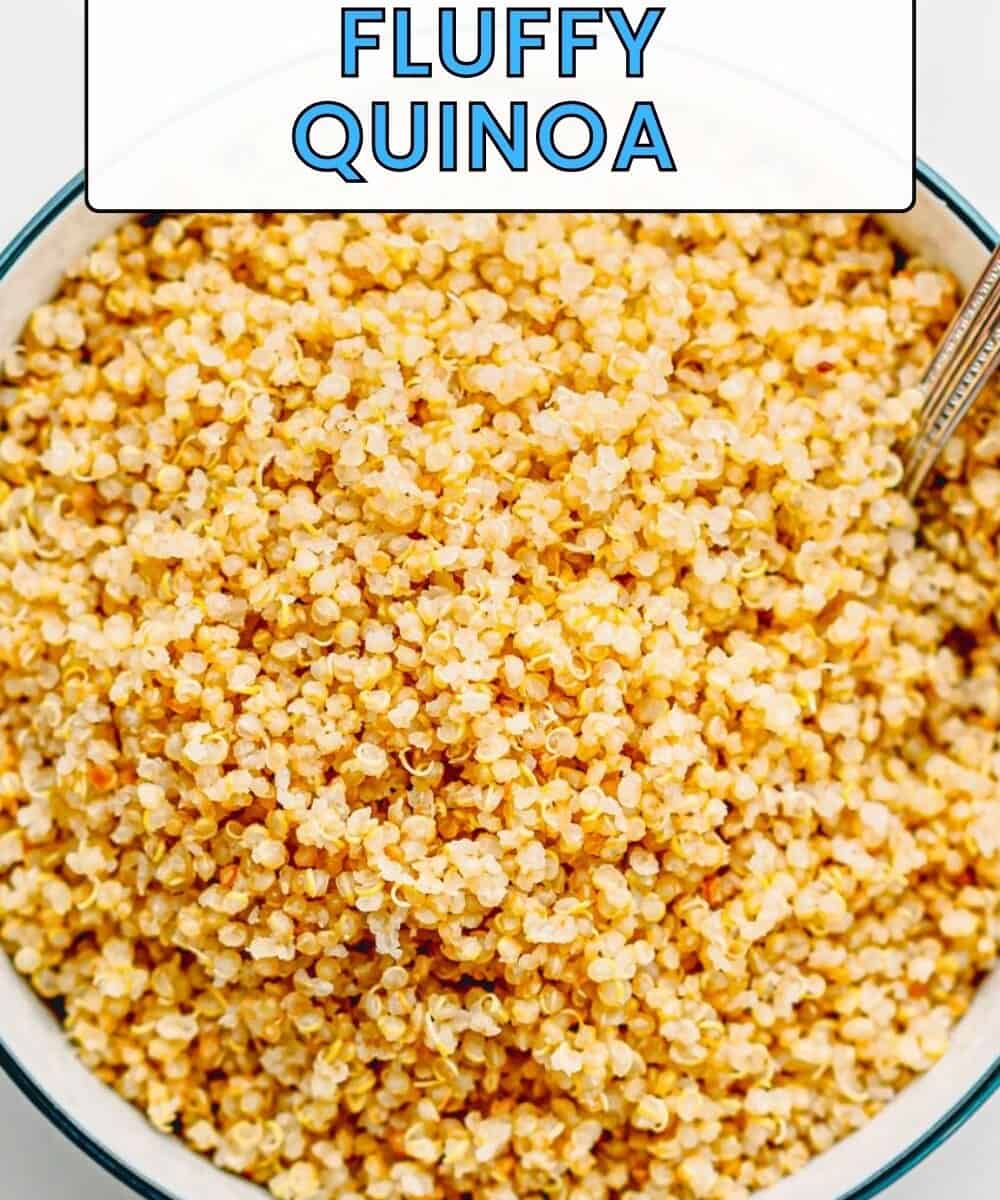
If you've ever wondered how to achieve the perfect, non-mushy quinoa, you've come to the right place. This easy-to-follow how to cook quinoa on the stove recipe will guide you through the process of consistently preparing fluffy quinoa in just a few straightforward steps.
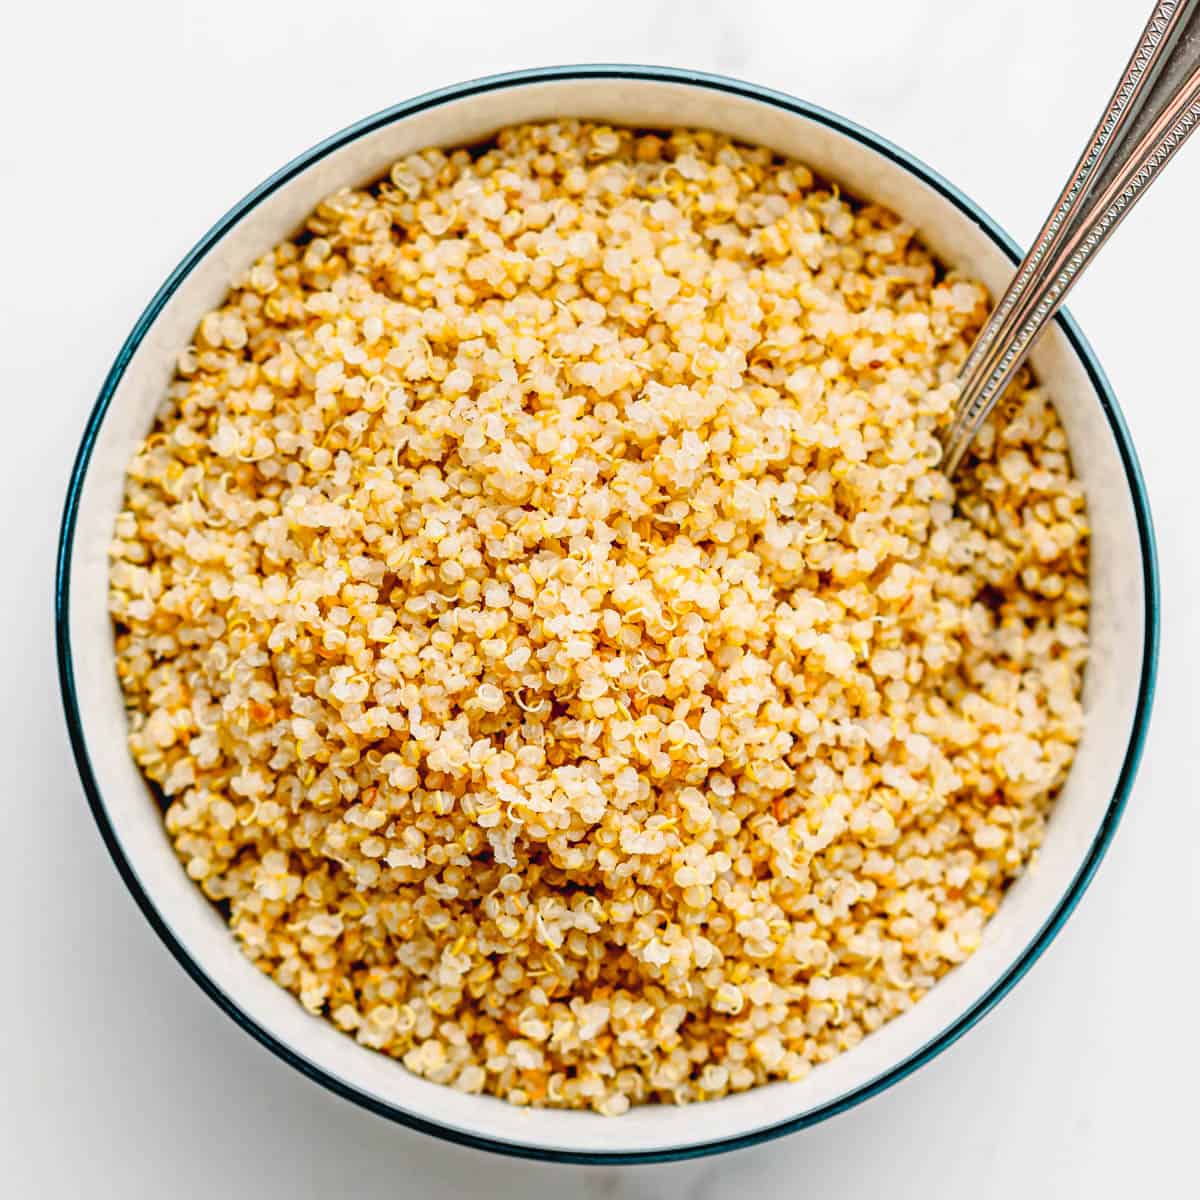
In this recipe, you'll not only learn how to cook quinoa but also discover how to turn this humble grain into a tasty and nutritious kitchen staple.
We'll dive into cooking times and the perfect quinoa to water ratio to achieve a fluffy texture. Plus, I'll share some handy tips and tricks to guarantee your quinoa always comes out perfect.
Serve this quinoa with pork tenderloin stir-fry or smoked paprika chicken for a delicious meal.
Jump to:
What is Quinoa and Its Benefits?
Let's start with the basics. Quinoa, often pronounced as "keen-wah," is not your average grain. It's a nutritional powerhouse that contains fiber, antioxidants, and protein.
The best part is that it's naturally gluten-free, making it a solid choice for those with gluten sensitivities or celiac disease. In addition, quinoa has a low glycemic index (GI), which means it has a minimal impact on blood sugar levels. This can be particularly beneficial for individuals with diabetes or those trying to stabilize their blood sugar levels.
Quinoa comes in a variety of types, each with its own unique texture and flavor profile. You'll find white, red, and black quinoa, and each different types opening exponential possibilities for diverse dishes for any occasion.

Ingredients You'll Need
Here's the list of ingredients to make the most basic quinoa that you can pair with any recipes.

Quinoa. For this quinoa recipe, I have chosen white quinoa as the base.
Water. You'll also need a liquid for absorption and evaporation; you can opt for either broth or water.
Seasoning. As for seasoning, I've kept it simple by not adding any, but you're welcome to enhance the flavor with a pinch of salt to suit your taste.
How to Cook Quinoa on the Stove
Cooking the perfect quinoa couldn't be simpler than this. Achieving light and fluffy quinoa with a tender inside is all about mastering the right water-to-quinoa ratio and cooking time.
Now, let me share the secret to achieving quinoa perfection:

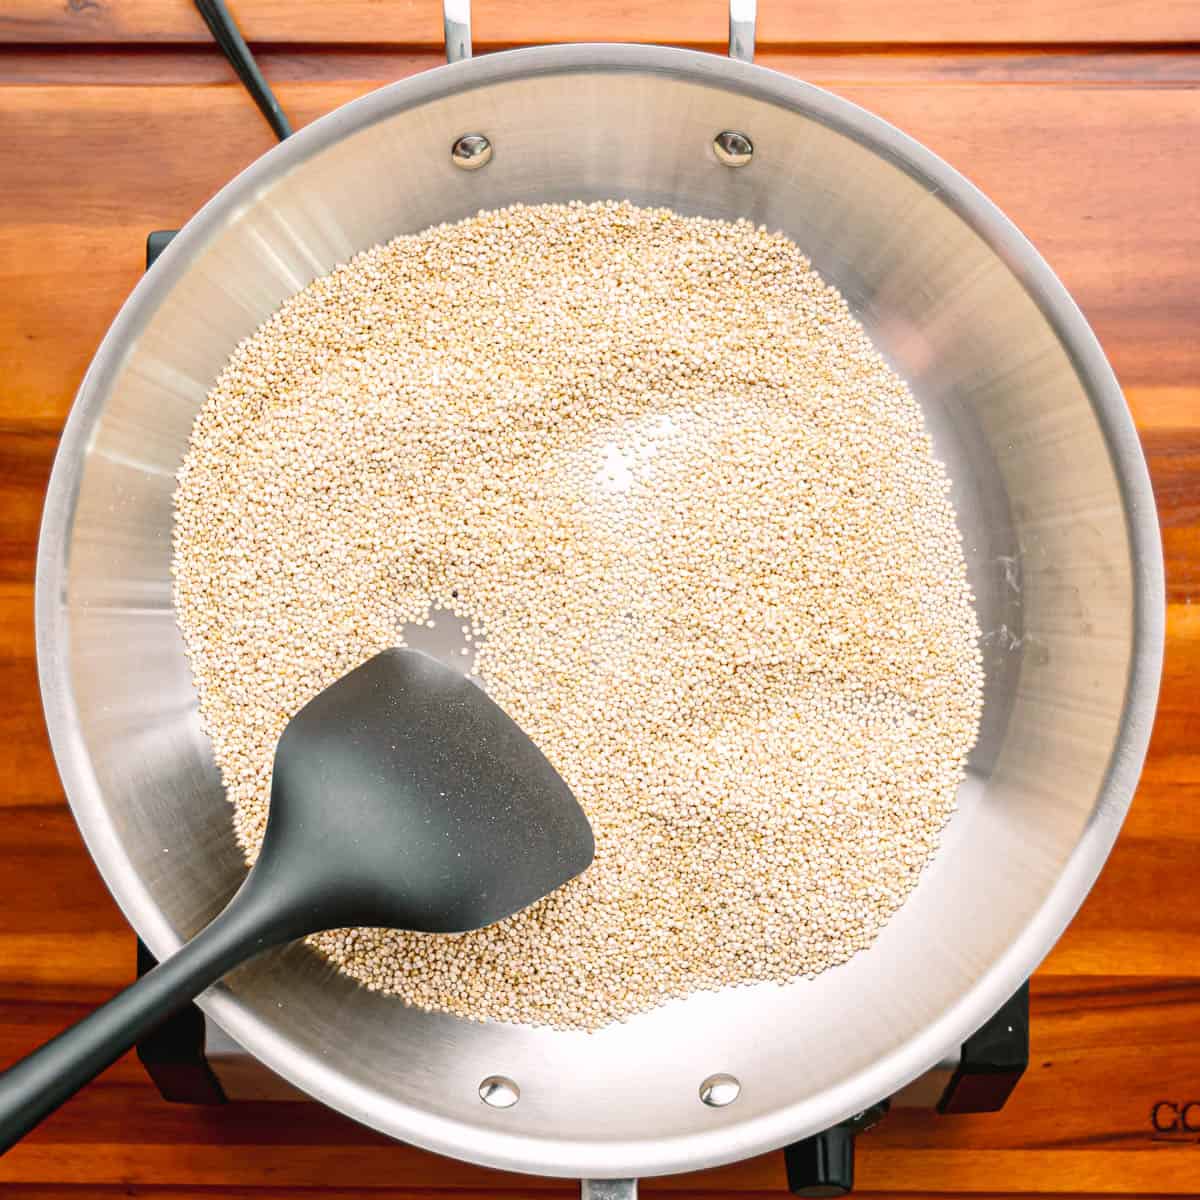
1. Toast the Quinoa
Toasting quinoa is a crucial step that unlocks the rich nutty flavor and oils within the grains. It's simple to do-just take your quinoa and toast it in a large pan over medium-high heat for approximately 3 minutes, or until you catch that nutty aroma. No need for any oil during this step.
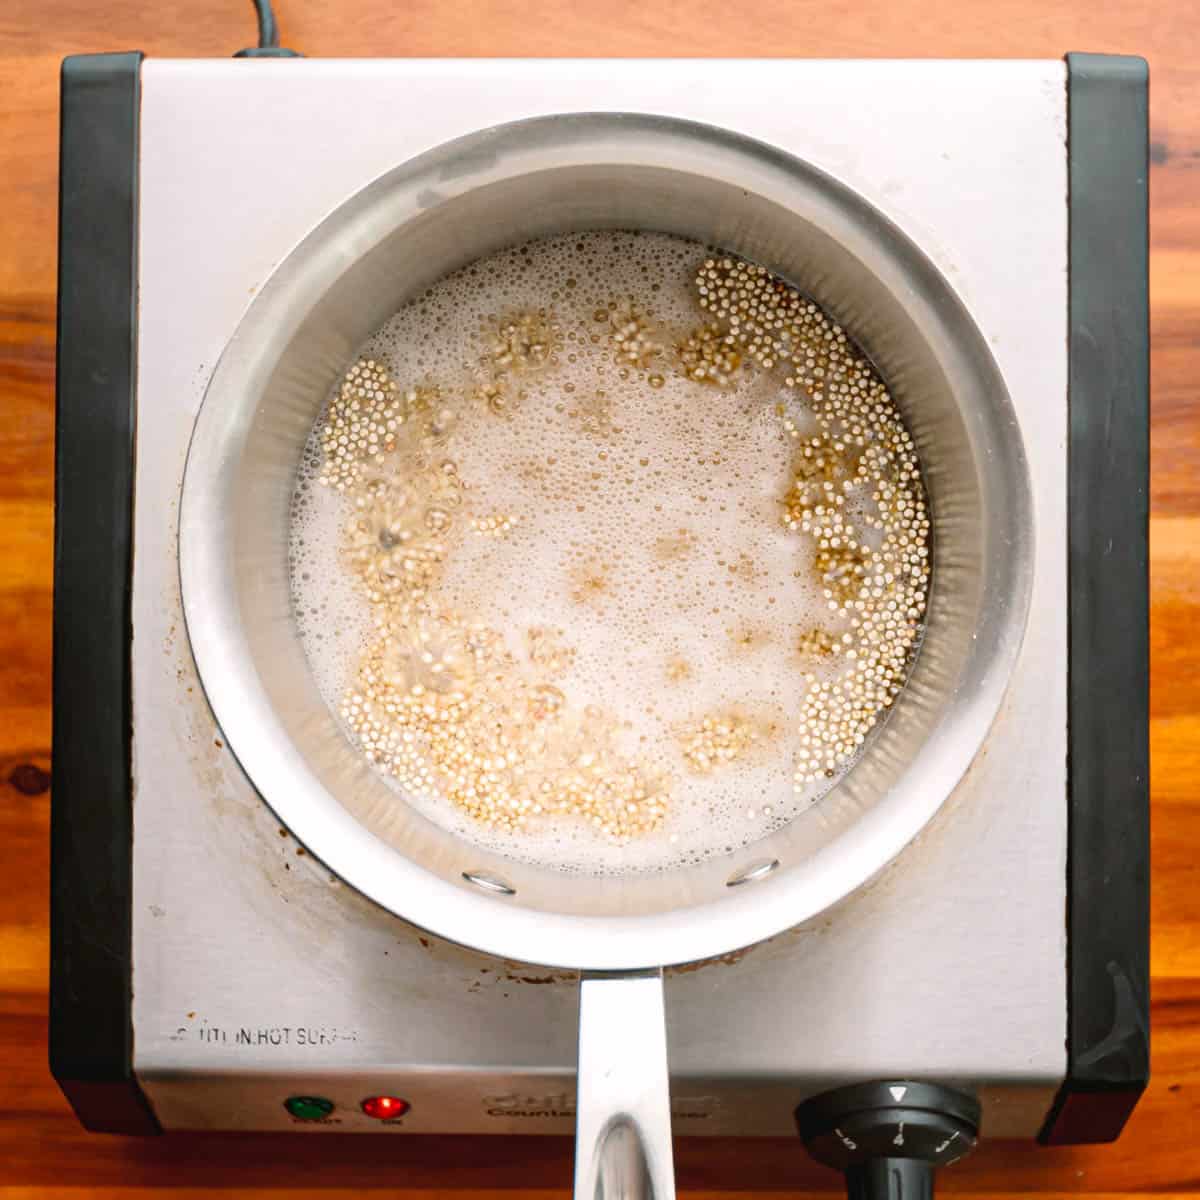

2. Cook the Quinoa
Once your quinoa is nicely toasted, transfer it from the pan to a saucepan along with water. Place it over medium-high heat, and within about 5 minutes, it should come to a boil.
As soon as it starts boiling, cover the pot and reduce the heat to the lowest setting possible. Allow it to simmer gently for a total of 10 minutes.
3. Let the Cooked Quinoa Rest Before Fluffing
After precisely 10 minutes of simmering, let the quinoa sit undisturbed, still covered for an additional 5 minutes. This resting period is key to achieving the desired fluffy texture.
Finally, take a fork and gently fluff up your perfectly cooked quinoa. Enjoy your cooking success!
Tips
- Select the appropriate saucepan size. Opt for a medium to large saucepan or pot to prevent water from boiling over and to promote even and faster cooking of quinoa. In this particular recipe, I used my trusty 2-quart All-Clad D5 saucepan, which consistently produces perfectly cooked grains, accommodating up to 1.5 cups of quinoa beautifully.
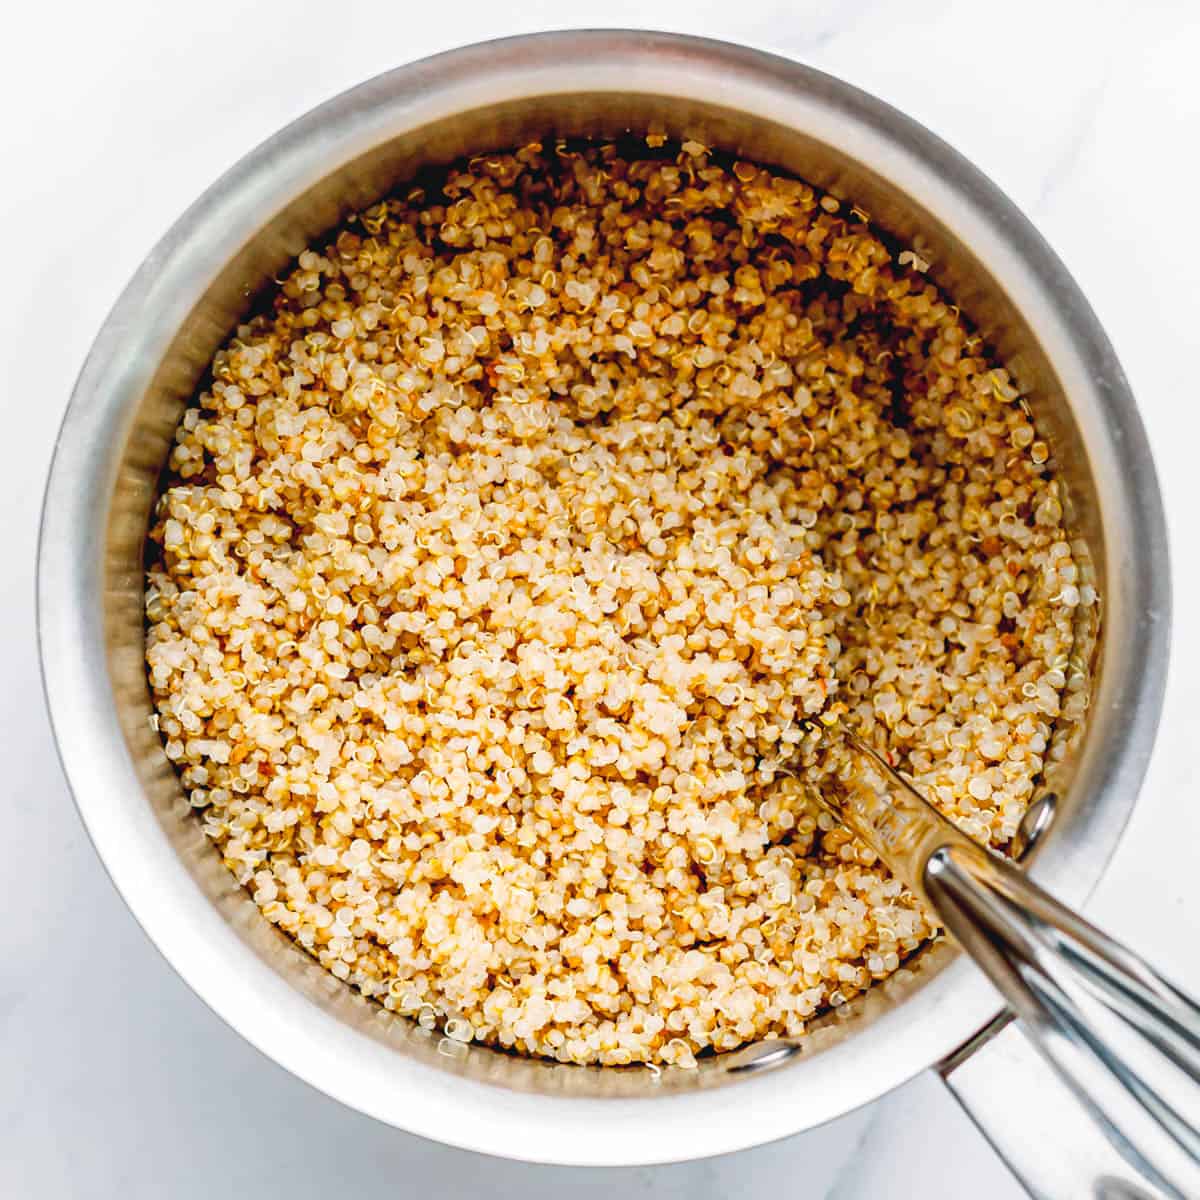
- How to Season Quinoa. As I mentioned earlier, this is a fundamental quinoa recipe that serves as a starting point for various dishes. Don't hesitate to add your desired seasonings such as salt, black pepper, lemon juice, spices, and herbs to customize the flavor to your liking.
- Rinse Before Cooking: While it's optional, rinsing quinoa under cold water before cooking can help remove its natural bitter coating called saponin and improve the flavor. Please note that most pre-packaged quinoa are pre-rinsed and ready to cook.
- Toast for Enhanced Flavor: Toasting quinoa in a dry pan for a few minutes before cooking can intensify its nutty flavor and add depth to your dishes.
- Choose Your Liquid: You can use water, vegetable broth, chicken broth, or any other flavored liquid to cook quinoa, depending on your recipe.
- Bring to a Boil, Then Simmer: Start by bringing the liquid to a boil, then reduce the heat to a simmer and cover the pot. This helps ensure even cooking.
- Watch the Cooking Time: Quinoa typically cooks in about 15 minutes from boiling to simmering. You'll know it's done when the grains have popped open, revealing the germ, and it's fluffy with a slight crunch.
- Rest After Cooking: Allow quinoa to rest, covered, for 5-10 minutes after cooking. This helps it absorb any remaining liquid and results in a better texture.
- Fluff with a Fork: Gently fluff the quinoa with a fork to separate the grains and prevent clumping.

FAQ
Rinsing quinoa before cooking is optional because most packaged quinoa has already been pre-rinsed and is ready to cook. However, if you're buying quinoa from the bulk section and you're unsure whether it's been pre-rinsed, you can place the grains in a fine strainer and rinse them under cold water. Be sure to drain them well before cooking.
Based on my experimentation, I've discovered that using 1 ¾ cups of water for every 1 cup of quinoa results in fully cooked grains that are fluffy while still maintaining a firm texture.
The choice between vegetable broth, chicken broth, or water is entirely up to your dietary preferences and taste.
You can tell that quinoa is done cooking when it has popped open, revealing the germ of the kernel, emits a nutty aroma, and can be easily fluffed with a fork.
Toasting quinoa before cooking is an optional step, but it can enhance your dish by giving the grain a deeper brown color, intensifying its nutty flavor, adding complexity to the taste, and providing a slightly crunchy texture once it's cooked.
Yes, it is recommended to let quinoa rest for 5 minutes while covered after cooking. This resting period allows the grains to fully absorb the liquid, ensuring that your quinoa is evenly cooked.
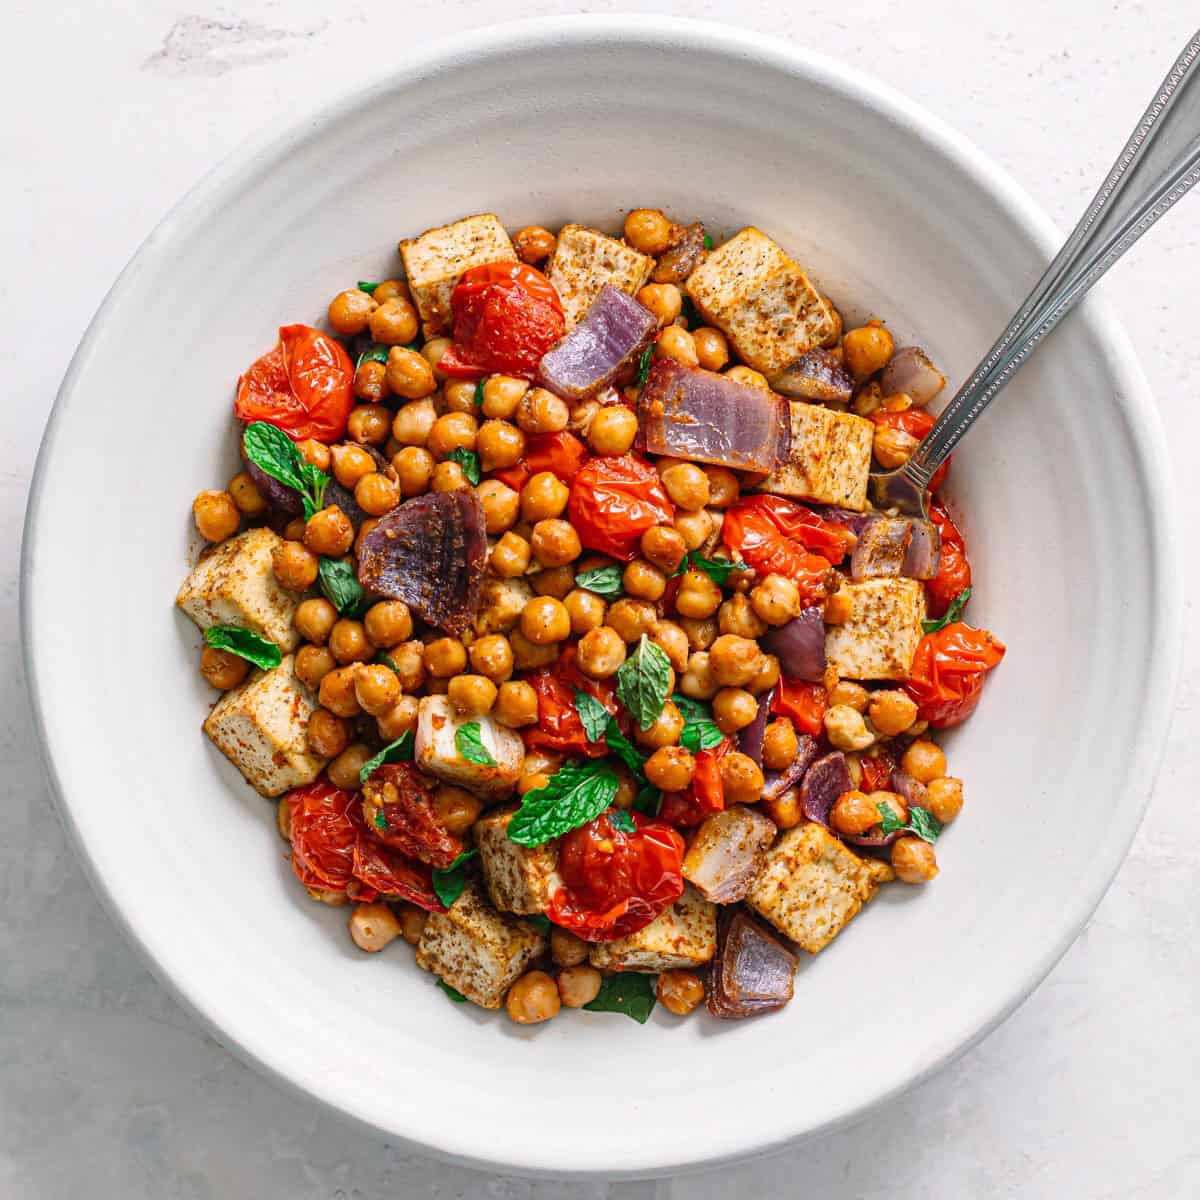
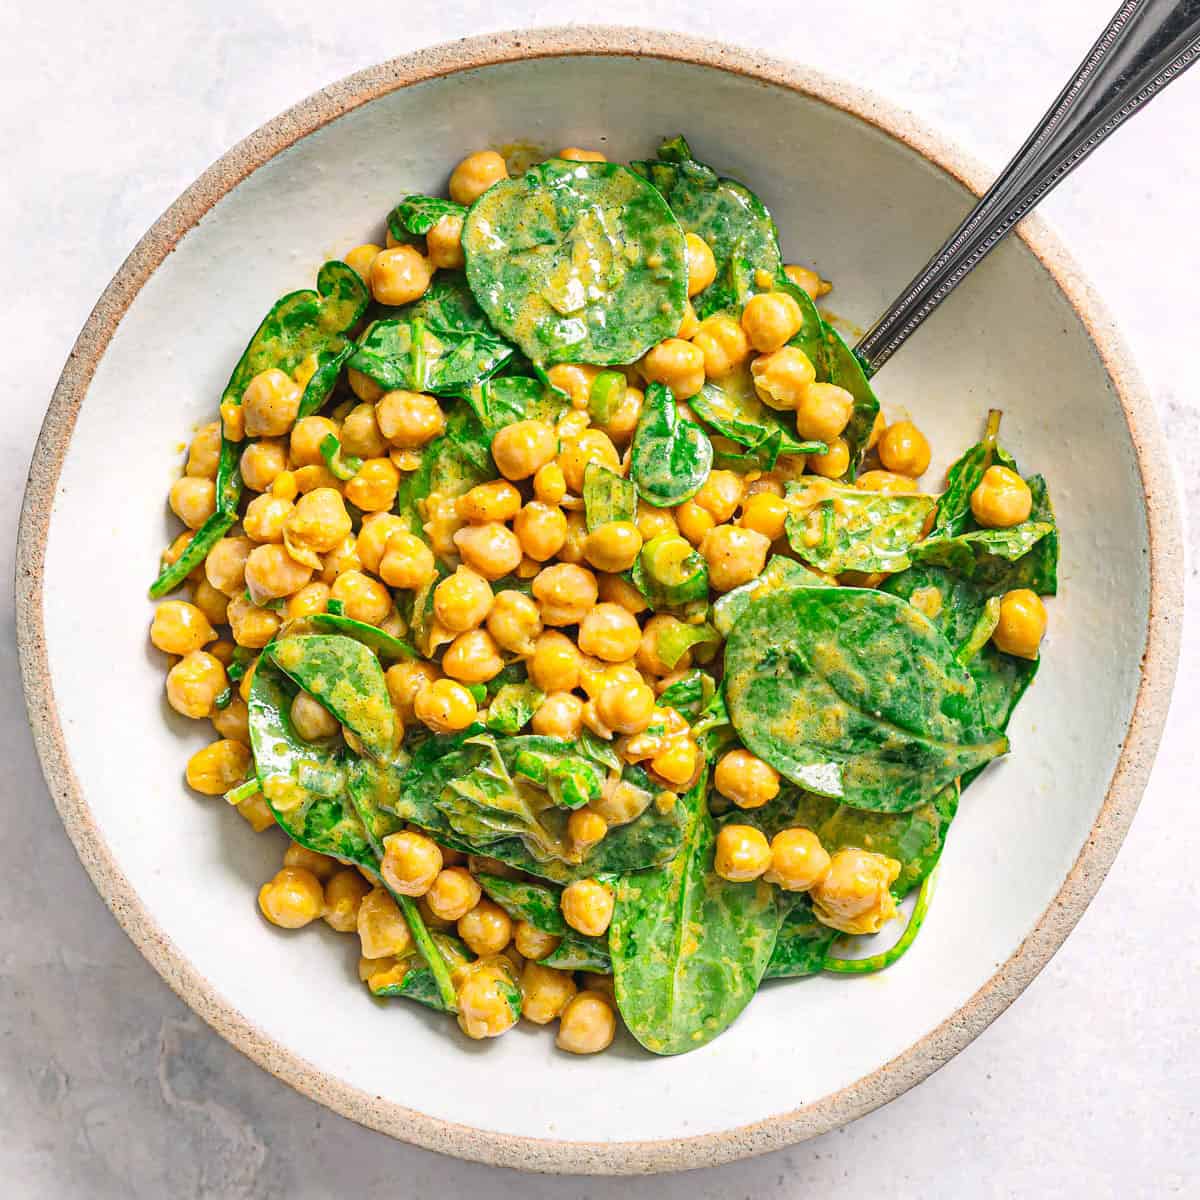
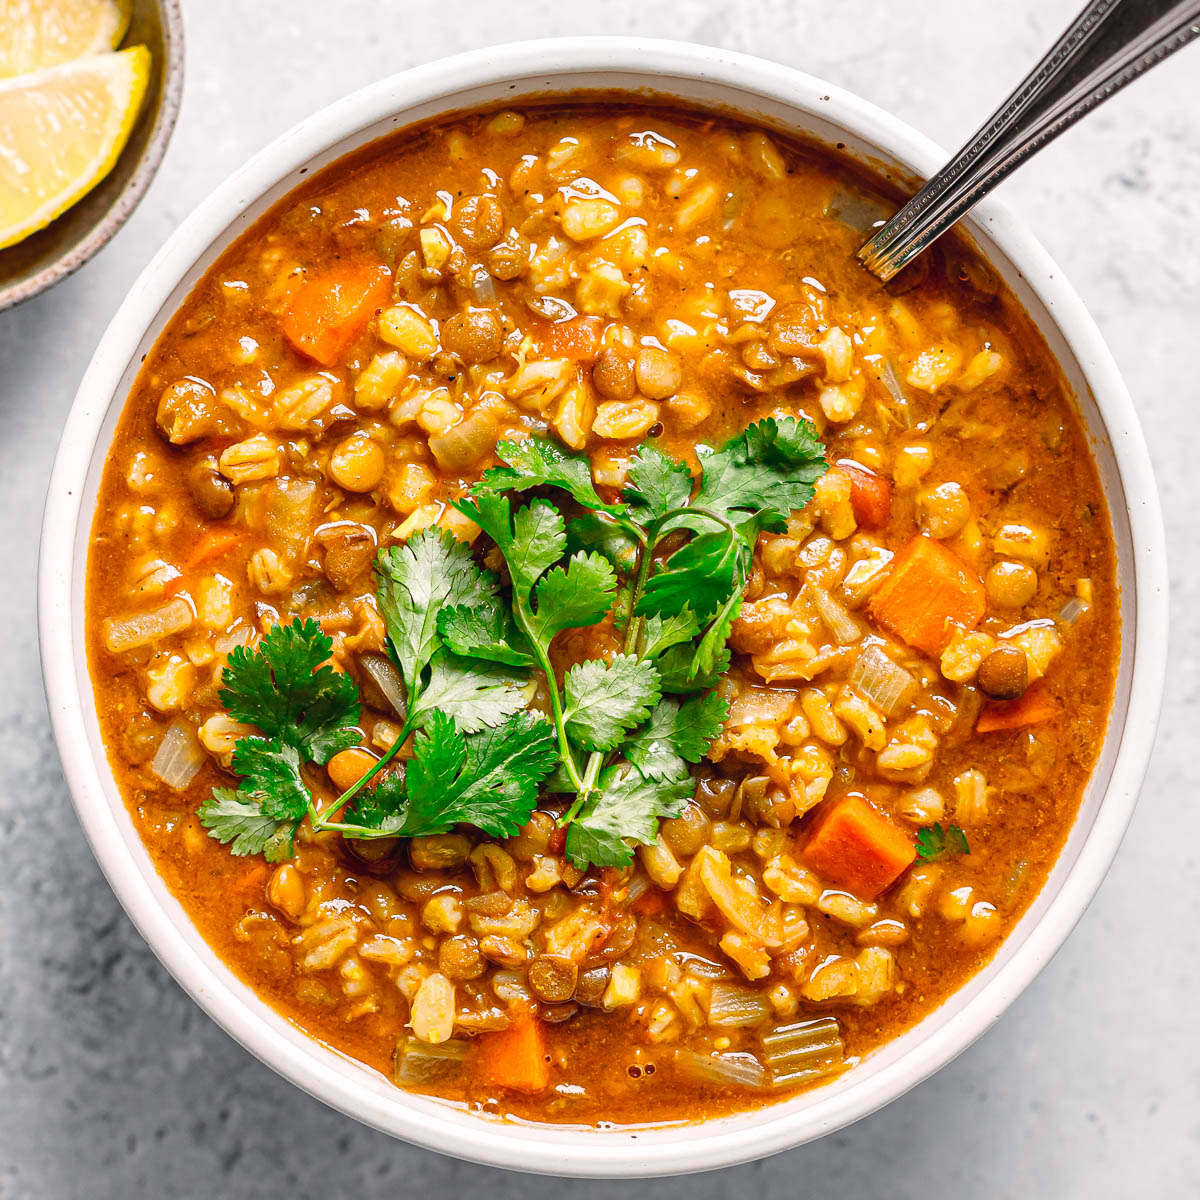
You can use quinoa in a variety of dishes, including soups, salads, stir-fries, casseroles, stuffings, and recipes that call for grains or rice or couscous. Quinoa is versatile and can be a nutritious addition to many different types of meals.
Storing Leftover Cooked Quinoa
Storing leftover cooked quinoa properly is essential to maintain its freshness and prevent it from spoiling. Please discard any cooked quinoa left at room temperature for longer than 2 hours or if it has been exposed to temperatures exceeding 90°F for over 1 hour. For additional details, visit this source.
Here's a step-by-step guide on how to store leftover cooked quinoa:
Summary:
- Allow the cooked quinoa to cool to room temperature.
- Transfer the quinoa to an airtight container.
- Refrigerate for 4-5 days or freeze for up to 3 months.
- Cool the Quinoa: Allow the cooked quinoa to cool down to room temperature before attempting to store it. This helps prevent condensation inside the storage container, which can make the quinoa soggy.
- Choose a Container: Select an airtight container or resealable plastic bag large enough to accommodate the amount of quinoa you're storing. Make sure the container is clean and dry.
- Portion if Necessary: If you plan to use the quinoa in smaller portions later, consider dividing it before storing. This can make it more convenient when you only need a portion of it for a specific recipe.

- Fill the Container: Place the cooled quinoa into the chosen container or plastic bag. Press it down gently to remove any excess air. Leave a little space at the top if you're using a container to account for possible expansion.
- Seal Airtight: Ensure that the container or bag is tightly sealed to prevent moisture and air from getting in. If using a plastic bag, squeeze out as much air as possible before sealing it.
- Label and Date (Optional): If you'd like to keep track of how long the quinoa has been stored, consider labeling the container or bag with the date when you cooked it.
- Refrigerate or Freeze: Place the sealed container or bag in the refrigerator if you plan to use the quinoa within 4-5 days. For longer storage, you can freeze it. Frozen quinoa can be stored for up to 2-3 months.
How to Reheat Leftover Quinoa
Reheating leftover quinoa is simple, and you can do it using various methods depending on your preference and the equipment you have available.
Here are three common ways to reheat leftover quinoa:
Microwave:
- Place leftover quinoa in a microwave-safe bowl.
- Cover with a microwave-safe lid or plastic wrap (with a vent).
- Microwave for 1-2 minutes, stirring halfway through.
Stovetop:
- Heat a non-stick skillet over medium-low heat.
- Add quinoa, stir for 5-7 minutes until hot.
Steam Reheating:
- Use a steamer basket over simmering water.
- Steam quinoa until hot, typically for 5 minutes or longer.
I hope you'll enjoy this recipe and share it with friends! If you try it and don't mind, please leave me a comment and/or give this recipe a rating. Be sure to subscribe to receive weekly recipes and follow me on Pinterest.
📖 Recipe
How to Cook Quinoa on the Stove
Equipment
Method
- Toast the uncooked quinoa in a large skillet over medium-high heat for 3-5 minutes, or until it becomes fragrant, stirring frequently.
- In a 2-quart saucepan, combine the toasted quinoa and water. Bring the mixture to a boil over medium-high heat, then reduce the heat to a low setting, cover with a lid, and let it simmer for 10 minutes or until the water is fully absorbed.
- Turn off the heat and allow the quinoa to sit undisturbed, still covered, for 5 minutes. Then, open the lid and fluff it with a fork.


Comments
No Comments