Are you craving a comforting and creamy dish without the hassle of heavy ingredients? Look no further! This easy cauliflower soup without cream recipe promises just that. With minimal ingredients and a method that doesn't rely on heavy cream or milk, you can whip up a deliciously creamy cauliflower soup that will warm your soul and satisfy your taste buds.

In this article, I'll introduce you to a flavorful and straightforward cauliflower recipe that's bound to become a favorite in your kitchen.
This cauliflower soup is infused with layers of umami flavor from slow-cooking aromatic vegetables, ensuring it's anything but bland.
Whether you're seeking a speedy dinner or a comforting meal for a chilly evening, this creamy cauliflower soup without cream is the perfect option.
For additional easy soup ideas similar to this one, take a look at our recipes for garlic soup, creamy lemon chicken rice soup, and mushroom soup.
Ingredients
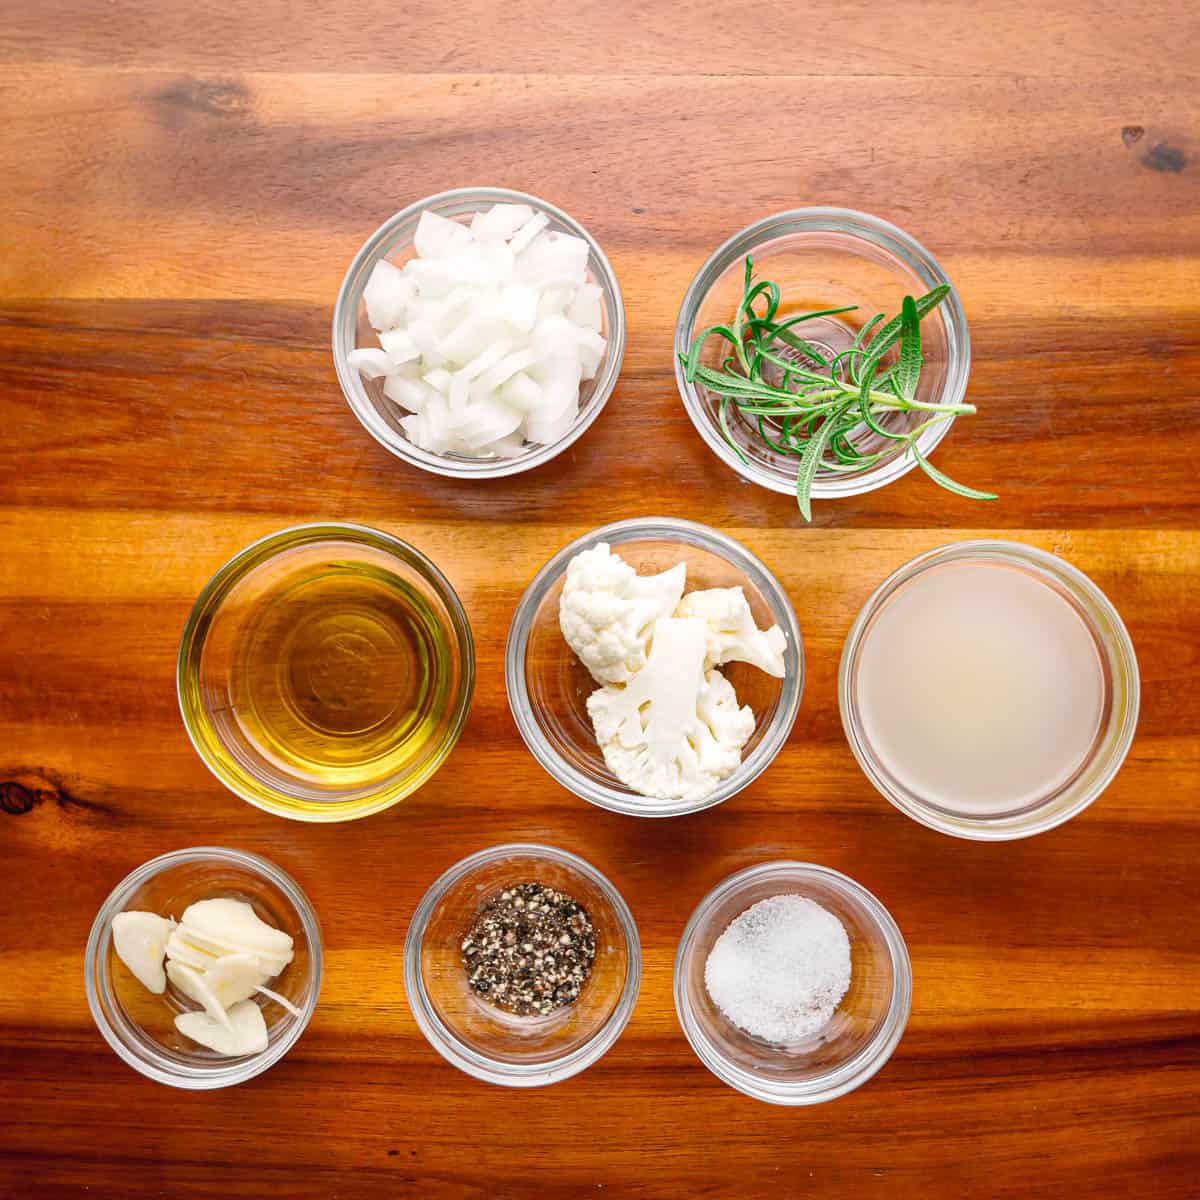
For this cauliflower soup without cream, you'll need only a handful of simple ingredients:

- Fresh cauliflower - provides the main flavor and bulk of the soup.
- Broth (vegetable or chicken) - adds liquid and depth of flavor to the soup base.
- Yellow onion - adds sweetness and aroma to the soup.
- Fresh garlic - enhances the savory flavor profile of the soup.
- Fresh rosemary - infuses a fragrant herbal note into the soup.
- Olive oil - used for sautéing the onion and garlic, adding richness.
- Salt and black pepper - seasonings to enhance the taste and balance the flavors.

How to Cook Cauliflower Soup
Let's walk through the simple steps to prepare and cook cauliflower soup without cream:


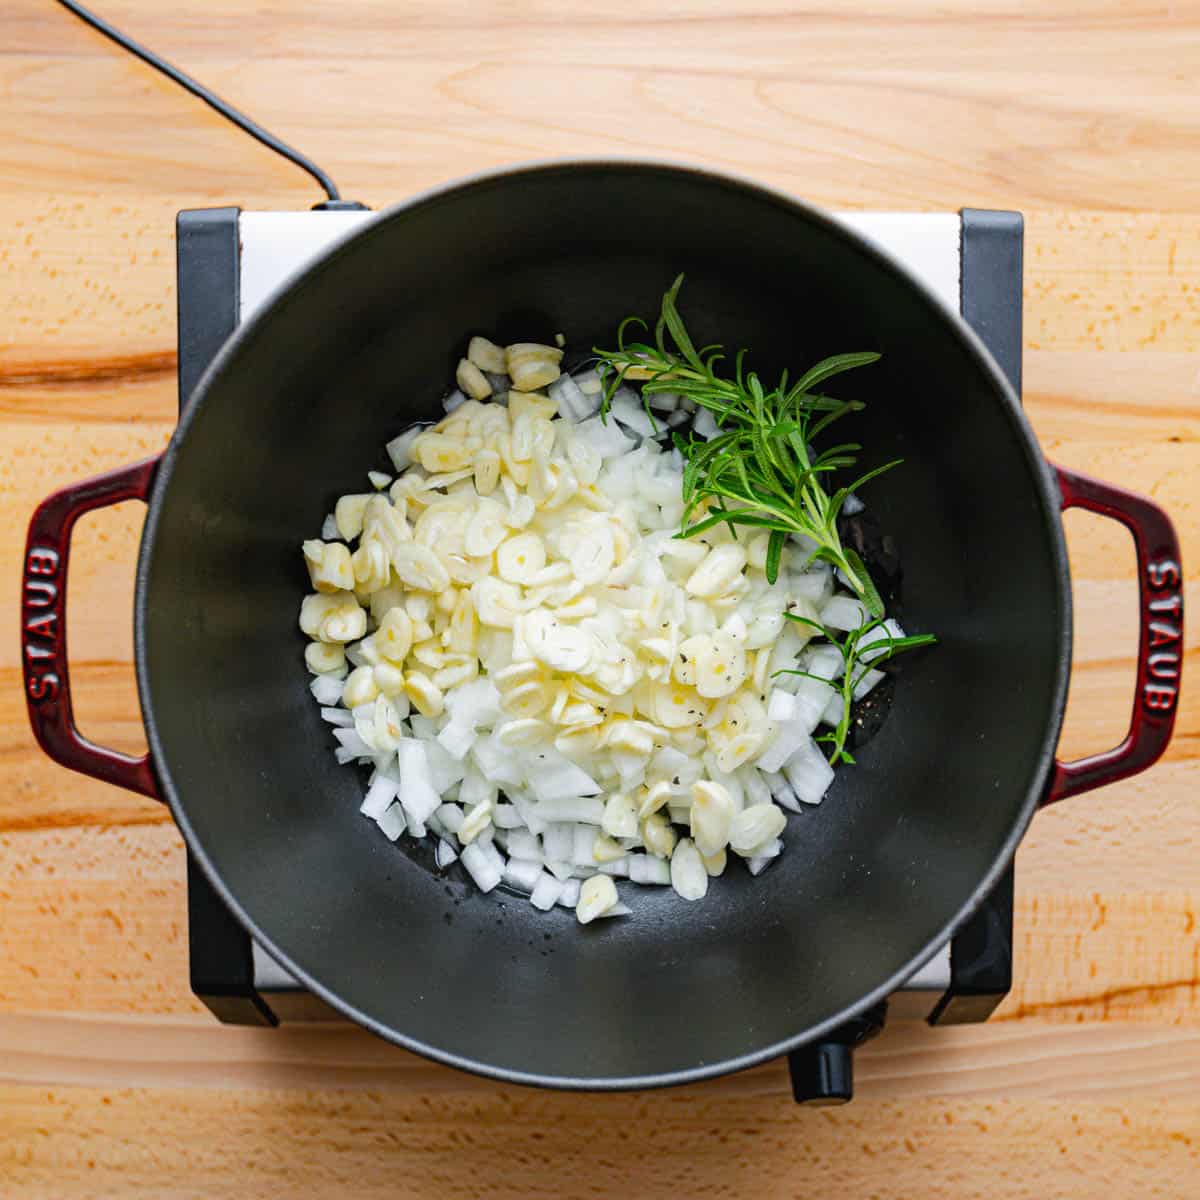
Step 1: Sauté the Aromatics: In a large Dutch oven, warm some oil over medium-low heat. Add diced onion, minced garlic, fresh rosemary, a pinch of salt, and black pepper. Stir frequently and cook for about 5 minutes until the onion and garlic soften, then remove the rosemary.
Step 2: Cook the Cauliflower: Add the cauliflower florets to the pot and cover. Let them cook for 15 minutes.


Step 3: Add the Broth: Pour the broth into the pot with the cauliflower. Allow the mixture to simmer, covered, for about 10 minutes.
Step 4: Blend the Soup: Using an immersion blender, blend the soup until it reaches a smooth consistency.
Step 5: Season to Taste: Take a taste and adjust the seasoning as needed with additional salt and black pepper.

Tips
Here are some helpful tips to ensure your cauliflower soup turns out perfectly:
- Evenly Chop Cauliflower: Aim for evenly sized cauliflower florets to ensure they cook at the same rate. To expedite the cooking process, chop the cauliflower into small florets. This allows for quicker and more even cooking, ensuring that the cauliflower becomes tender in less time, making your preparation faster and more efficient.
- Sauté Aromatics Slowly: Cooking the onion, garlic, and rosemary over medium-low heat allows them to release their flavors without burning.
- Remove Rosemary Before Blending: Removing the rosemary sprigs before blending ensures you get the herb's flavor without any woody texture in the final soup.
- Check Cauliflower for Doneness: Pierce the cauliflower with a fork to check for tenderness before blending. It should be easily pierced but not mushy.
- Blend in Batches: If you're using a regular blender instead of an immersion blender, blend the soup in batches to avoid overflow and achieve a smoother consistency.
- Adjust Consistency: If the soup is too thick, you can thin it out with a little extra broth or water. Conversely, if it's too thin, you can simmer it for a few more minutes to reduce and thicken.
- Season to Taste: Taste the soup before serving and adjust the seasoning with salt and black pepper according to your preference.
- Garnish Creatively: Garnish each serving with a drizzle of olive oil, a sprinkle of fresh herbs, a dollop of yogurt, or a handful of roasted cauliflower or toasted nuts for added flavor and visual appeal.

Storage
Here's how you can store cauliflower soup in both the fridge and freezer:
- Allow the cauliflower soup to cool completely at room temperature.
- Transfer the soup into an airtight container or a resealable plastic bag, leaving some space at the top for expansion.
- Seal the container tightly to prevent any air from entering, and label it with the date of preparation for reference.
- Place the container in the refrigerator and store it for up to 3-4 days or in the freezer for up to 2-3 months.
For additional food safety guidance, please visit this website.

Reheating
To reheat creamy cauliflower soup:
Stovetop Method:
- Transfer soup to a pot over medium heat.
- Simmer gently, stirring occasionally, for 5-10 minutes until heated through.
- Adjust seasoning and serve.
Microwave Method:
- Place soup in a microwave-safe container.
- Heat on high for 1-2 minutes (from fridge) or 3-5 minutes (from freezer), stirring halfway.
- Stir, check temperature, adjust seasoning, and serve.

I hope you'll enjoy this recipe and share it with friends! If you try it and don't mind, please leave me a comment and/or give this recipe a rating. Be sure to subscribe to receive weekly recipes and follow me on Pinterest.
📖 Recipe
Cauliflower Soup without Cream
Equipment
- a spatula
Ingredients
- 2½ pounds cauliflower florets
- 1½ cups diced yellow onion
- 2 oz sliced garlic
- 1 large rosemary sprig
- 2 tablespoons olive oil
- 1 teaspoon salt, (or more to taste)
- black pepper, (to taste)
- 1 quart (4 cups) broth
Instructions
- In a Dutch oven, heat oil over moderately low heat. Add onion, garlic, rosemary, a pinch of salt, and black pepper. Cook and stir often for 4-5 minutes until onion and garlic soften, then remove rosemary.
- Add the cauliflower florets to the pot and cover the pot. Let them cook for 15 minutes. Stirring occasionally.
- Pour broth into the pot and bring it to a boil over high heat. Then, reduce the heat to low, cover, and let it simmer for approximately 10 minutes, until the florets are tender.
- Using an immersion blender, blend the soup until it reaches a smooth consistency. Taste and adjust seasoning with more salt and pepper if necessary.


Comments
No Comments