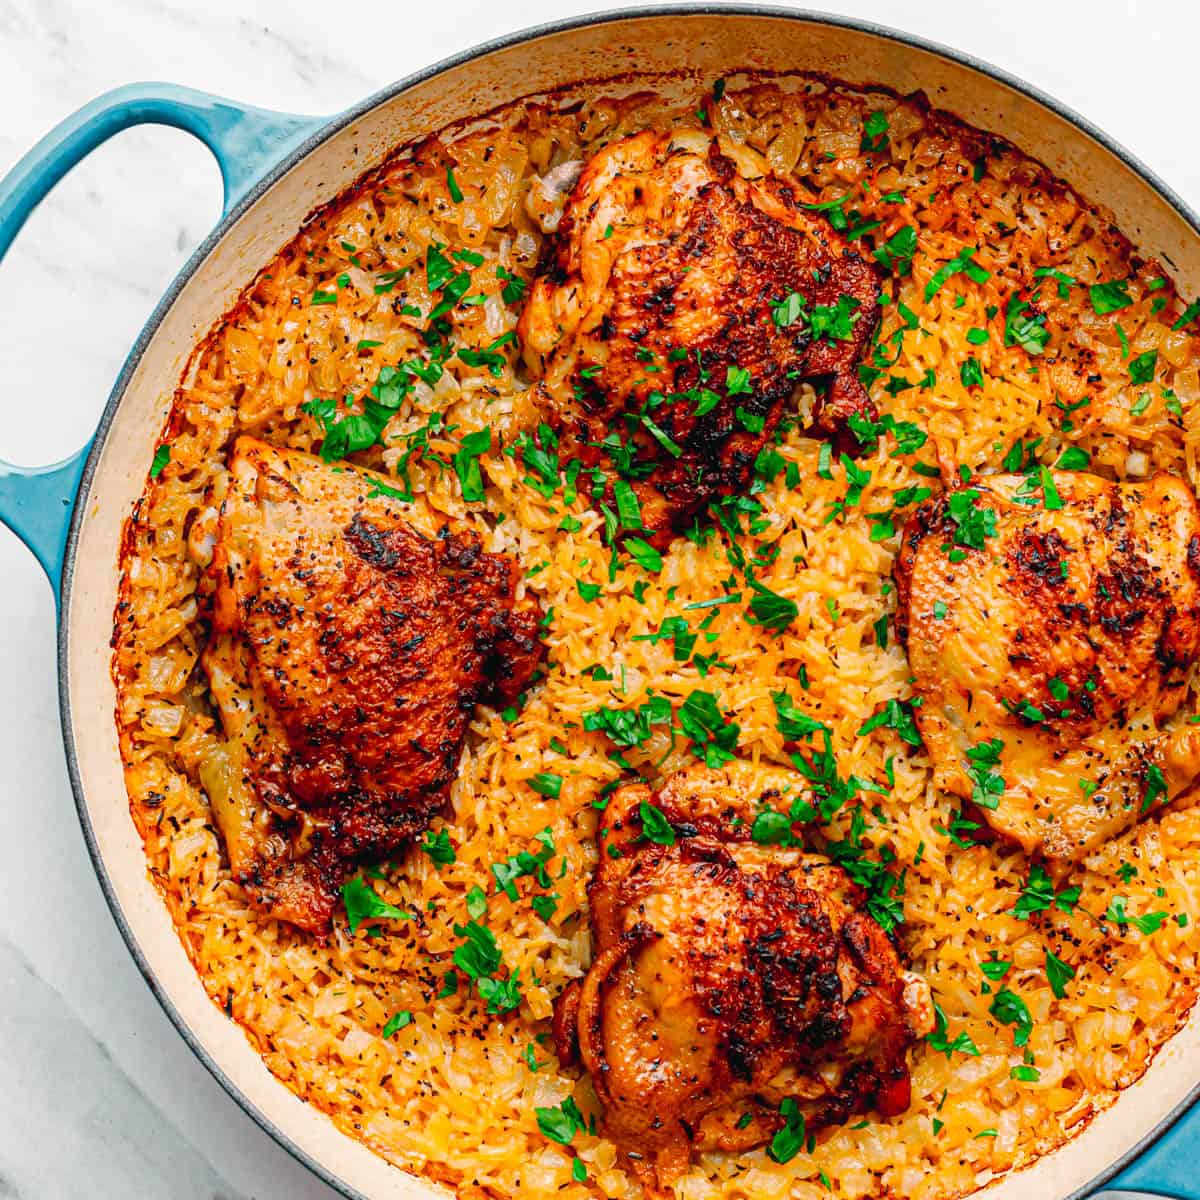
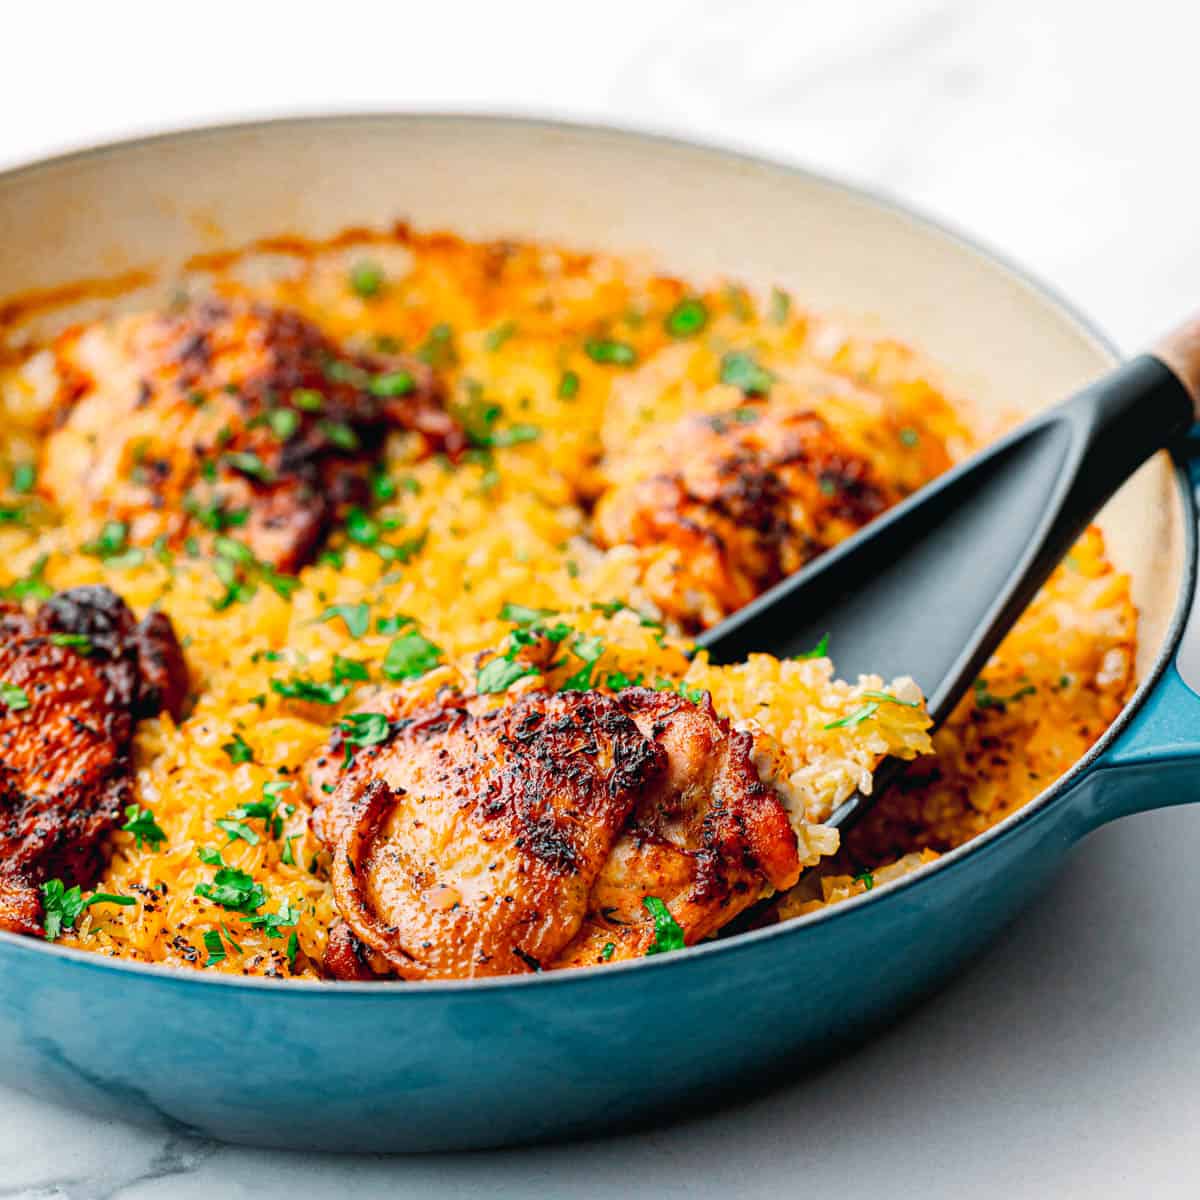
Looking for a comforting and delicious dinner option? Look no further than this foolproof Dutch Oven Chicken and Rice recipe. This one-pot wonder brings together juicy baked chicken thighs and fluffy rice, creating a beautiful mix of flavors. Once you taste this oven-baked chicken and rice, you'll be craving it again and again!

In this post, I'll guide you through the process of baking this delicious Dutch Oven Chicken and Rice dish, listing the ingredients, outlining the step-by-step cooking process, and sharing useful tips for a successful and flavorful meal every time you prepare it. The result: perfectly cooked chicken thighs and non-mushy rice in the Dutch oven!
This Dutch Oven Chicken and Rice was inspired by this chicken and chorizo rice and it pairs well with this roasted yellow squash with parmesan cheese.
Jump to:
Ingredients You'll Need
Before you begin, ensure you have these must-have ingredients ready to make the scrumptious oven-baked chicken and rice.
- Chicken Thighs. I suggest using skin-on and bone-in chicken thighs for a tastier rice dish. They bring a richer and more intense flavor to the rice as they cook. Plus, the crispy and golden-brown skin adds a wonderful texture contrast to the tender meat and fluffy rice, making it a perfect and satisfying combination.
- Long-Grain Rice. For the best results, I recommend using a long-grain rice option, such as Jasmine rice. It has a tendency to become wonderfully fluffy when cooked, adding a light and airy texture.
- Smoked Paprika. I opted for smoked paprika instead of regular paprika to infuse the dish with a distinctive smoky and bold flavor. It gives presentation points with that rich color.
- Onion and Garlic. I added onion and garlic to the rice for a savory flavor. The onion brings a subtle sweetness and earthy flavor that works well with the paprika and other ingredients. It adds depth and makes the rice smell incredible while cooking. Trust me on these key ingredients!

- Chicken broth. Since the dish already includes chicken, I decided to use chicken broth instead of water to boost its overall taste. it also brings in valuable nutrients. Plus, the aromatic chicken broth makes the dish even more enticing.
- Thyme. Thyme is a fantastic herb to use when you want to give your chicken and rice dish a hint of herbs and mintiness.
- Garlic powder. I decided to use garlic powder instead of fresh garlic to season the chicken thighs before browning because it spreads the garlic flavor evenly all over the chicken. Plus, garlic powder doesn't burn as easily as fresh garlic during the cooking process. It's a better way to make sure the chicken tastes great without any burnt garlic bits.
- Olive oil. I used olive oil to sear the chicken and sauté the aromatic ingredients.
- Salt and black pepper. To taste.

Step-by-Step Guide: Dutch Oven Chicken and Rice
This Dutch Oven Chicken and Rice cooking process is not only simple but also incredibly enjoyable. Follow these easy steps, and you'll whip up a truly delicious and satisfying meal that will delight your taste buds and leave you feeling satisfied.
- Preheat your oven to 350°F (175°C).
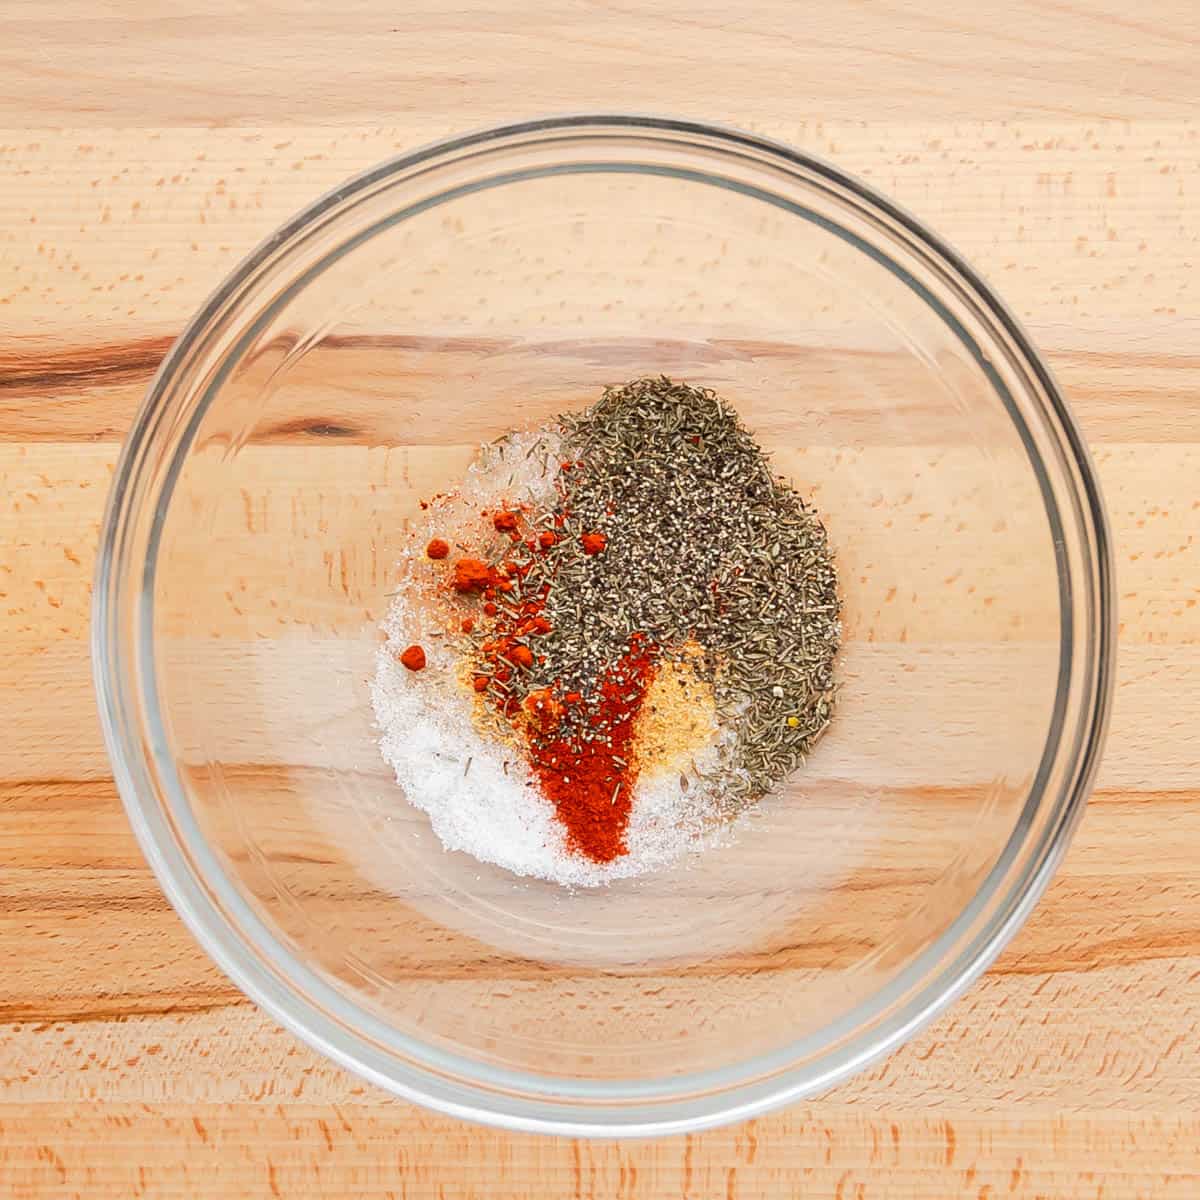
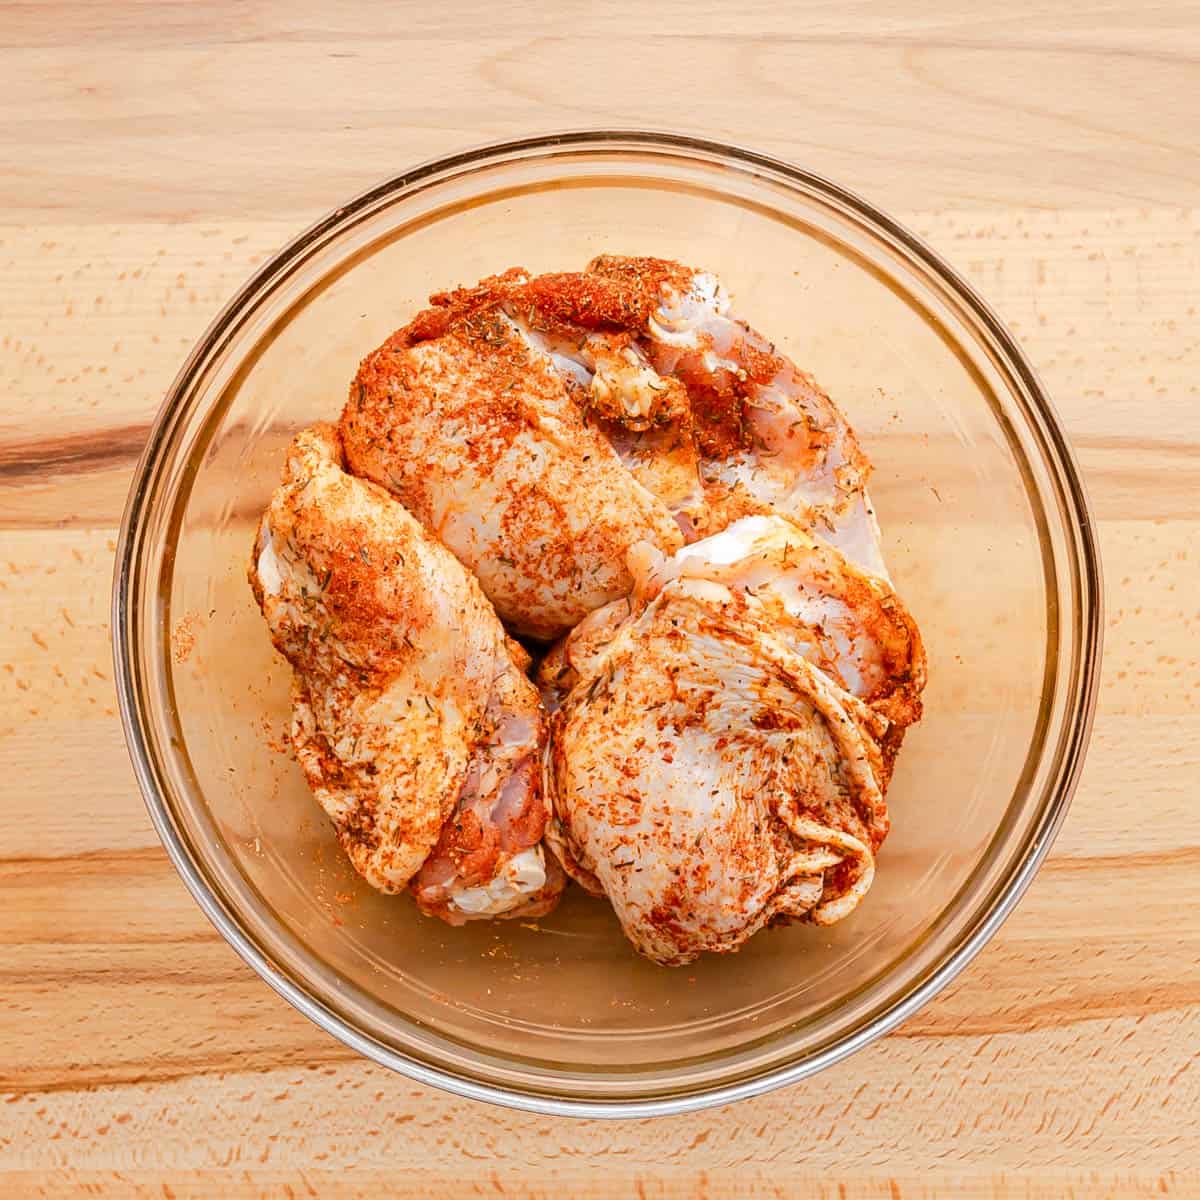
- Use paper towels to dry the chicken thighs, then season them all over with 1-½ teaspoon of smoked paprika, salt, garlic powder, and dried thyme.


- In a Dutch oven, heat oil over medium-high heat. Brown the chicken thighs for 2-3 minutes on each side. Once they are nicely browned, transfer them to a plate.
- Leave about 2 tablespoons of grease in the same Dutch oven. Add the onions and cook for 2 minutes, then add the garlic and cook for another minute.

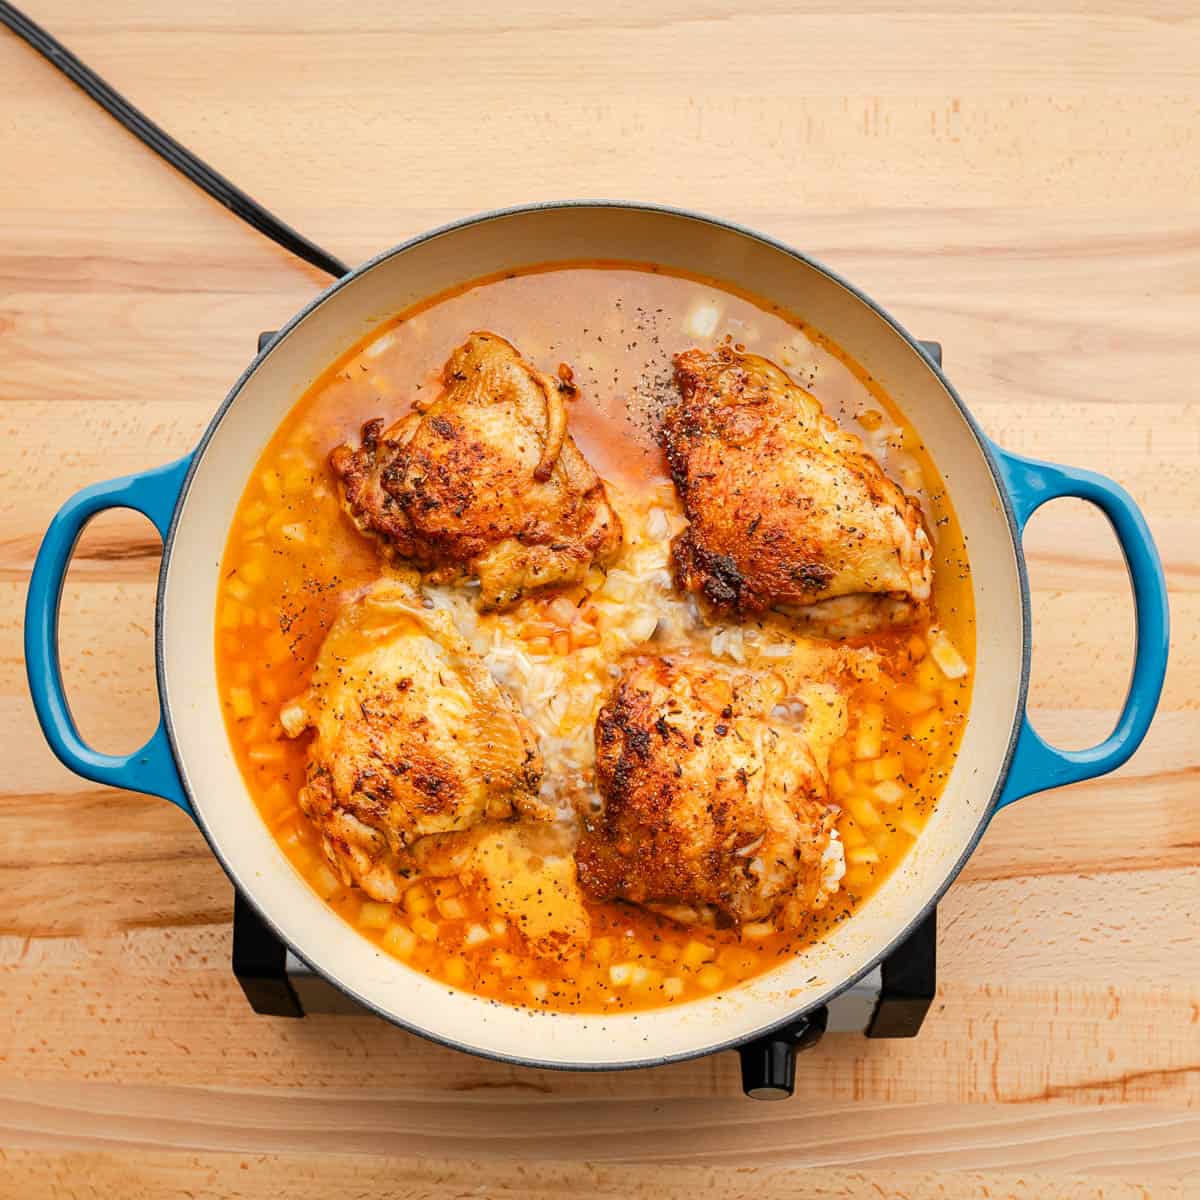
- Stir in the rice and cook for 1-2 minutes.
- Pour in the chicken stock and add ½ teaspoon of smoked paprika. Quickly scrape up the browned bits from the bottom of the pan.
- Nestle the seared chicken pieces on top of the rice and bring everything to a simmer over medium-high heat.
- Once it starts simmering, turn off the heat and cover the Dutch oven with a lid.
- Place the covered Dutch oven in the preheated oven and bake for 30 minutes.
- After 30 minutes, remove the lid and continue cooking for another 15 minutes.
Now you have easy-to-follow instructions to make a delicious chicken and rice dish!
Variations and Substitutions
- If you want your rice to have an extra buttery and delightful taste, you can try using a mix of both oil and butter.
- Feel free to flavor the chicken with your preferred herbs and spices, whether it's Italian seasoning, oregano, or any other combination of your liking.
- If you're opting for brown rice in this recipe, make sure to adjust the broth quantity to 1 ¾ cups and allow it to cook for a minimum of 55 minutes, covered then 15 minutes, uncovered. This will ensure perfectly cooked and tender brown rice for your dish.
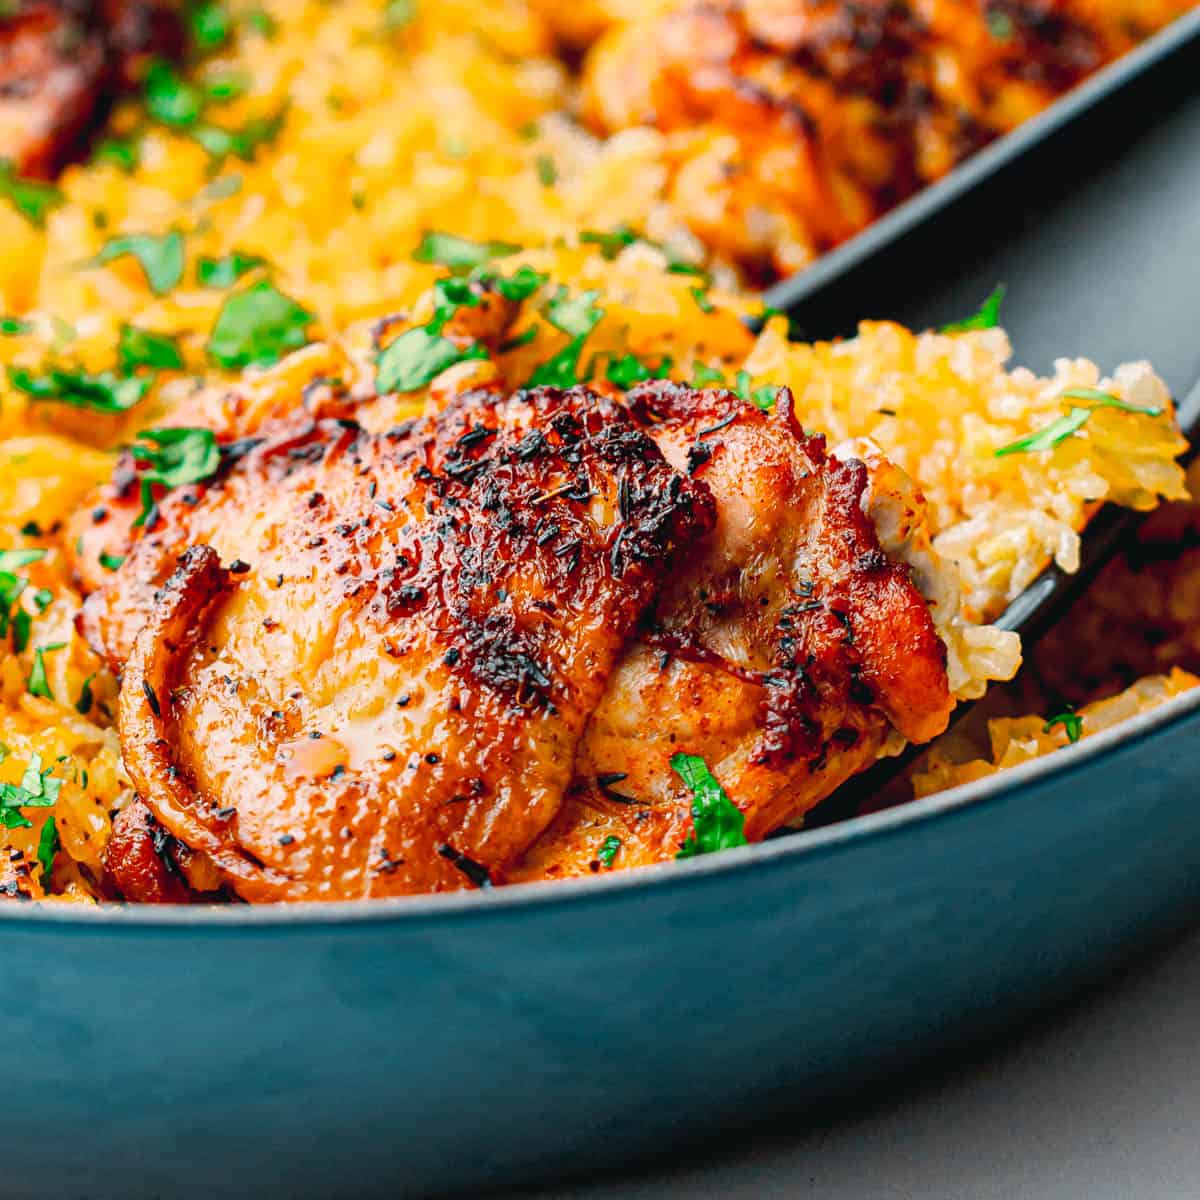
Top Tip
Ensure you use the appropriately sized Dutch oven and maintain the correct water-to-rice ratio for this recipe. Your pot should be large enough to comfortably accommodate both the rice and chicken. If the pot is either too small or too big, or if there is too much or too little liquid in the water-to-rice ratio, it may lead to uneven cooking, resulting in either mushy or dry rice and chicken. Therefore, carefully consider the size of the pot and the amount of liquid used.
Recipe Tips for Success
- To add more flavor and keep the chicken moist while baking, choose bone-in and skin-on chicken thighs.
- Using high-quality chicken broth will enhance the overall taste of the dish. You can adjust the seasoning by adding herbs and spices based on your preference.
- Be mindful of the salt, especially if using store-bought chicken broth. Opt for lower-sodium chicken broth, and you can add more salt later if needed.
- To ensure even cooking, avoid lifting the lid frequently while baking. You'll have a delicious and well-cooked chicken and rice dish by limiting this.
- Don't forget to give the rice a good rinse to get rid of any excess starches. This simple step will help prevent your rice from turning out mushy and clumpy.
- To ensure your dish is perfectly seasoned, follow this common cooking practice: start by tasting your food, and if needed, adjust the seasoning with salt to suit your taste preferences. Remember to add salt in small increments, tasting after each addition to avoid oversalting.
Storage
To keep things safe and avoid any potential risks, it's really important to be mindful of how we handle leftover rice and chicken.
If these foods have been sitting out at room temperature for more than 2 hours (or just 1 hour when it's scorching hot outside, above 90°F), it's best to play it safe and throw them away. We don't want any unwanted bacteria making us sick! And if you want more detailed information, feel free to check out the source provided.
To properly handle leftovers, here are some simple guidelines to follow:
- Give your delicious baked chicken and rice some time to cool down completely before you store them. This helps prevent any moisture buildup, which could lead to spoilage.
- Once they've cooled down, put your leftovers in an airtight container. Pop it in the fridge, and make sure to enjoy those tasty remnants within the next 3 to 4 days. After that time, it's better to toss them out to be safe.
- If you find yourself with a generous amount of leftovers and want to keep them for a longer period, you have an awesome option! Freezing is a fantastic way to extend their storage time. You can keep them frozen for up to 3 months, ensuring you get to enjoy those yummy meals at a later date.
How to Reheat the Leftovers
Reheating leftover rice and chicken is easy and can be done safely with a few simple steps. Here's how to do it:
- Microwave: This is the quickest and most convenient method. Simply place a single serving of rice and chicken in a microwave-safe dish. Cover the dish with a microwave-safe lid or microwave-safe plastic wrap, leaving a small vent for steam to escape. Heat on medium power for a minute or two at a time, stirring occasionally until both the rice and chicken are heated through evenly. Be careful not to overheat, as it can dry out the food.
- Stovetop: Reheating on the stovetop can help maintain moisture and prevent overcooking. Use a non-stick pan or skillet and add a little oil or broth to prevent sticking. Heat the pan on medium-low heat and add the leftover rice and chicken. Stir gently to heat evenly until the food is hot throughout.
- Oven: If you prefer a more even and slow reheating method, use the oven. Preheat your oven to 350°F (175°C). Place the rice and chicken in an oven-safe dish, cover it with aluminum foil, and put it in the oven. Reheat for about 15-20 minutes or until the food is thoroughly heated.
Remember these essential tips when reheating:
- Add Moisture: If you notice the rice or chicken is a bit dry during reheating, adding a splash of water or broth can help bring back some moisture and flavor.
- Even Heating: Stir or flip the food occasionally during reheating to ensure the even distribution of heat.
- Check Temperature: Make sure the internal temperature of the chicken reaches 165°F (74°C) to ensure it's safe to eat.
- Avoid Multiple Reheatings: Try to reheat only the amount you intend to eat to avoid repeated reheating, which can reduce the quality of the food.
- Let it Cool Before Serving: Once the rice and chicken are heated to your liking, be sure to let it cool slightly before digging in.
Check Out More Tasty Rice Recipes
I hope you'll enjoy this recipe and share it with friends! If you try it and don't mind, please leave me a comment and/or give this recipe a rating. Be sure to subscribe to receive weekly recipes and follow me on Pinterest.
📖 Recipe
Dutch Oven Chicken and Rice (Oven-Baked)
Equipment
- a Dutch oven ( I used Le Creuset Shallow Casserole Dish, 30 cm, 3½ qt)
Ingredients
- 2 pounds bone-in and skin-on chicken thighs, (about 4 large or 5 smaller pieces) pat them dry with paper towels.
- 2 teaspoons smoked paprika, (1½ teaspoons for chicken and ½ teaspoon for rice)
- 1½ teaspoons dried thyme
- 1½ teaspoons garlic powder
- ¼ teaspoon black pepper
- 1¼ teaspoons sea salt, (and more to taste)
- 2 tablespoons olive oil
- 1¼ cups diced yellow onion
- 1 tablespoon minced garlic
- 1 cup white Jasmine rice or any long grain rice, (rinse and drain well)
- 1½ cups low-sodium chicken broth
Instructions
- Prepare the oven. Preheat your oven to 350°F (175°C).
- Season the Chicken. Mix 1½ teaspoons of smoked paprika, dried thyme, garlic powder, 1¼ teaspoon of salt, and black pepper in a bowl. Use this seasoning to coat the chicken thighs.
- Brown the Chicken. In a Dutch oven, heat oil over medium-high heat. Brown the chicken thighs for 2-3 minutes on each side, then transfer them to a plate.
- Saute the Aromatics and Rice. Leave about 2 tablespoons of grease in the same Dutch oven. Add onions and cook for 2 minutes, then add garlic and cook for 1 more minute. Stir in the rice and cook for 1-2 minutes.
- Add Liquid. Pour in chicken stock and add ½ teaspoon of smoked paprika. Stir and scrape up the browned bits from the bottom of the pan.
- Add the Browned Chicken. Nestle the seared chicken pieces on top of the rice and bring everything to a simmer over medium-high heat for about 2 minutes.
- Bake, Covered. Turn off the heat, cover the Dutch oven with a lid, and bake in the preheated oven for 30 minutes.
- Baked, Uncovered. After 30 minutes, remove the lid and continue cooking for another 15 minutes or until the chicken is fully cooked.
Notes
- Ensure the rice is fully submerged in the liquid for even cooking.
- Don't forget to rinse the rice until the water runs clear to prevent it from becoming mushy.
- Make sure to pat the chicken dry with paper towels to achieve maximum browning and crispiness.
- To ensure your dish is perfectly seasoned, follow this common cooking practice: start by tasting your food, and if needed, adjust the seasoning with salt to suit your taste preferences. Remember to add salt in small increments, tasting after each addition to avoid oversalting.
- Feel free to flavor the chicken with your preferred herbs and spices, whether it's Italian seasoning, oregano, or any other combination of your liking.
- If you're opting for brown rice in this recipe, make sure to adjust the broth quantity to 1 ¾ cups and allow it to cook for a minimum of 55 minutes, covered then 15 minutes, uncovered. This will ensure perfectly cooked and tender brown rice for your dish.
- Ensure you use the appropriate size Dutch oven for this recipe. Your pot should be big enough to comfortably fit the rice and chicken. If the pot is too small or too big, it can lead to uneven cooking, resulting in either mushy or dry rice and chicken. So, put some thought into the size of the pot. In this recipe, I used Le Creuset braiser, 30 cm.
- Please note that the nutrition values displayed above are calculated based on the assumption that you consume all the rice provided in the serving.
- You can store the leftovers in the fridge for 3-4 days or in the freezer for up to 3 months.






Tt says
I have Vigo bagged yellow rice. Could I use that in place of the Jasmine rice?
Rika says
Hi Tt,
Apologies for the delay in getting back to you! I hope this is still helpful. I just looked up Vigo bagged yellow rice, and I think it should work well with this recipe. Just be sure to follow the cooking instructions on the package to avoid undercooking or overcooking the rice. I hope that helps, and thanks for your patience!
Best,
Rika
Merlene Mazyck says
Tasty and simple. Used basmati instead of jasmine rice. Texture of rice good.
Rika says
Hi Marlene,
Thanks for the feedback! I'm glad you liked the dish and that the basmati rice worked out. It's great to hear the rice turned out well. Hope you enjoyed it!
Best,
Rika