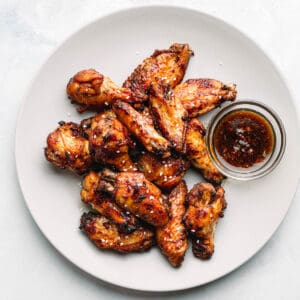
These finger-lickin' Ninja Foodi Chicken Wings with Sweet and Sticky Sauce are so dang tasty! I cooked the chicken wings in a pressure cooker until tender and crispy, then coated them in a honey garlic sauce made from scratch. They are the perfect party appetizer to serve on game day or holiday gatherings.
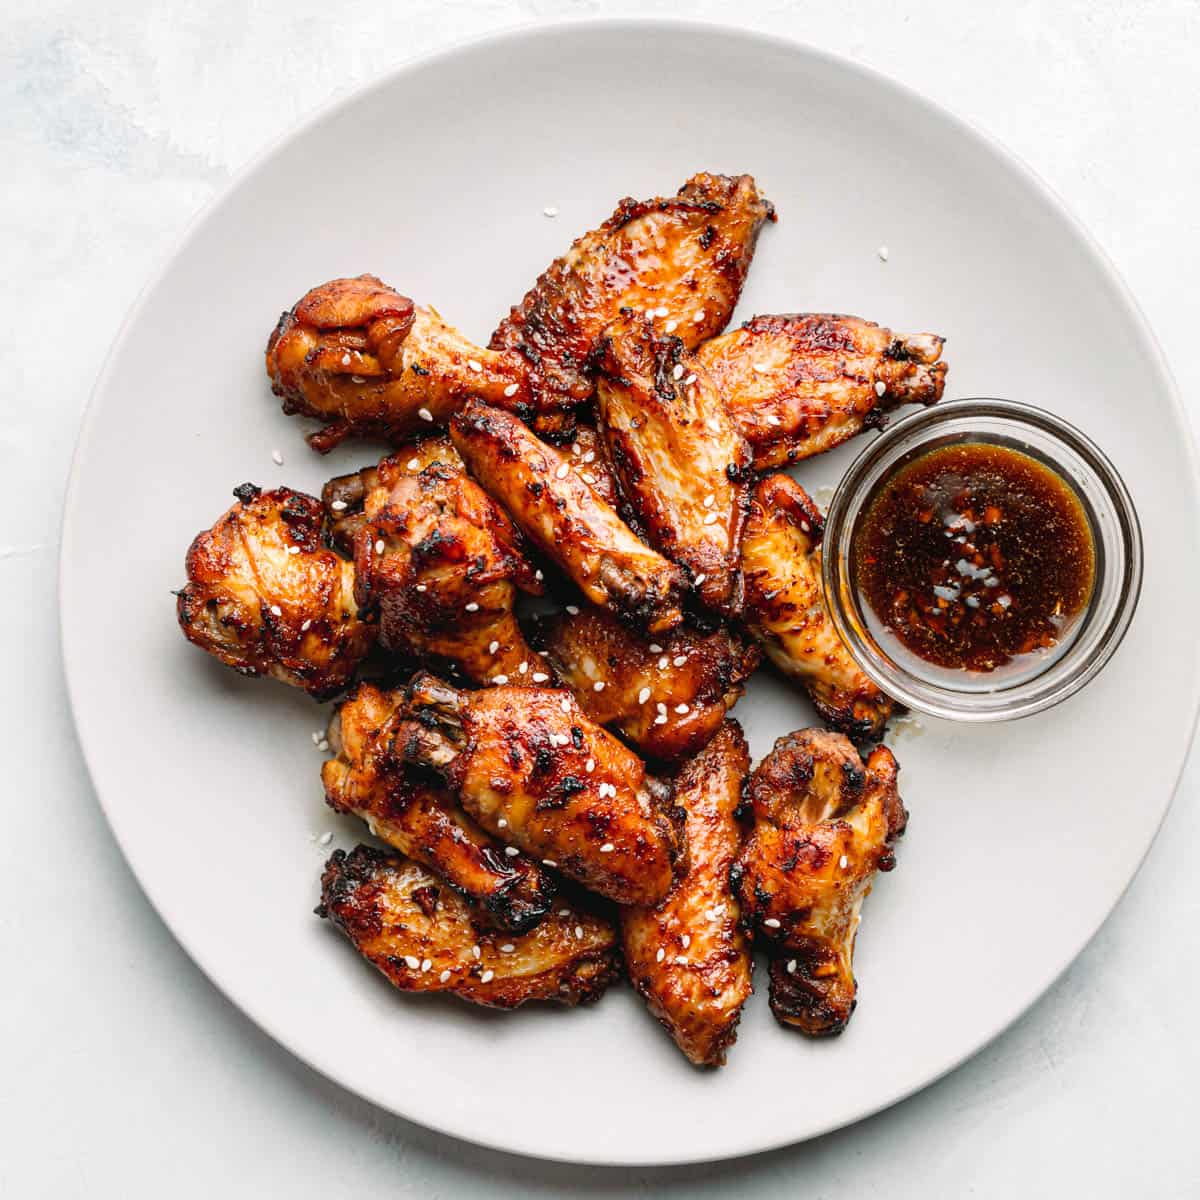
Today you will learn a great technique on how to quickly cook chicken wings in a pressure cooker or Instant Pot. You will also learn how to make the best sauce for wings made from scratch.
Jump to:
Ninja Foodi Chicken Wings
There are so many things I love about chicken wings.
For one, wings are very inexpensive so you can eat a ton of them without hurting your wallet.
Another great thing about wings is that they can be prepared in many different ways, and don't have to be deep-fried! You can bake or grill them, slow cook or use a pressure cooker and they will taste good every time.
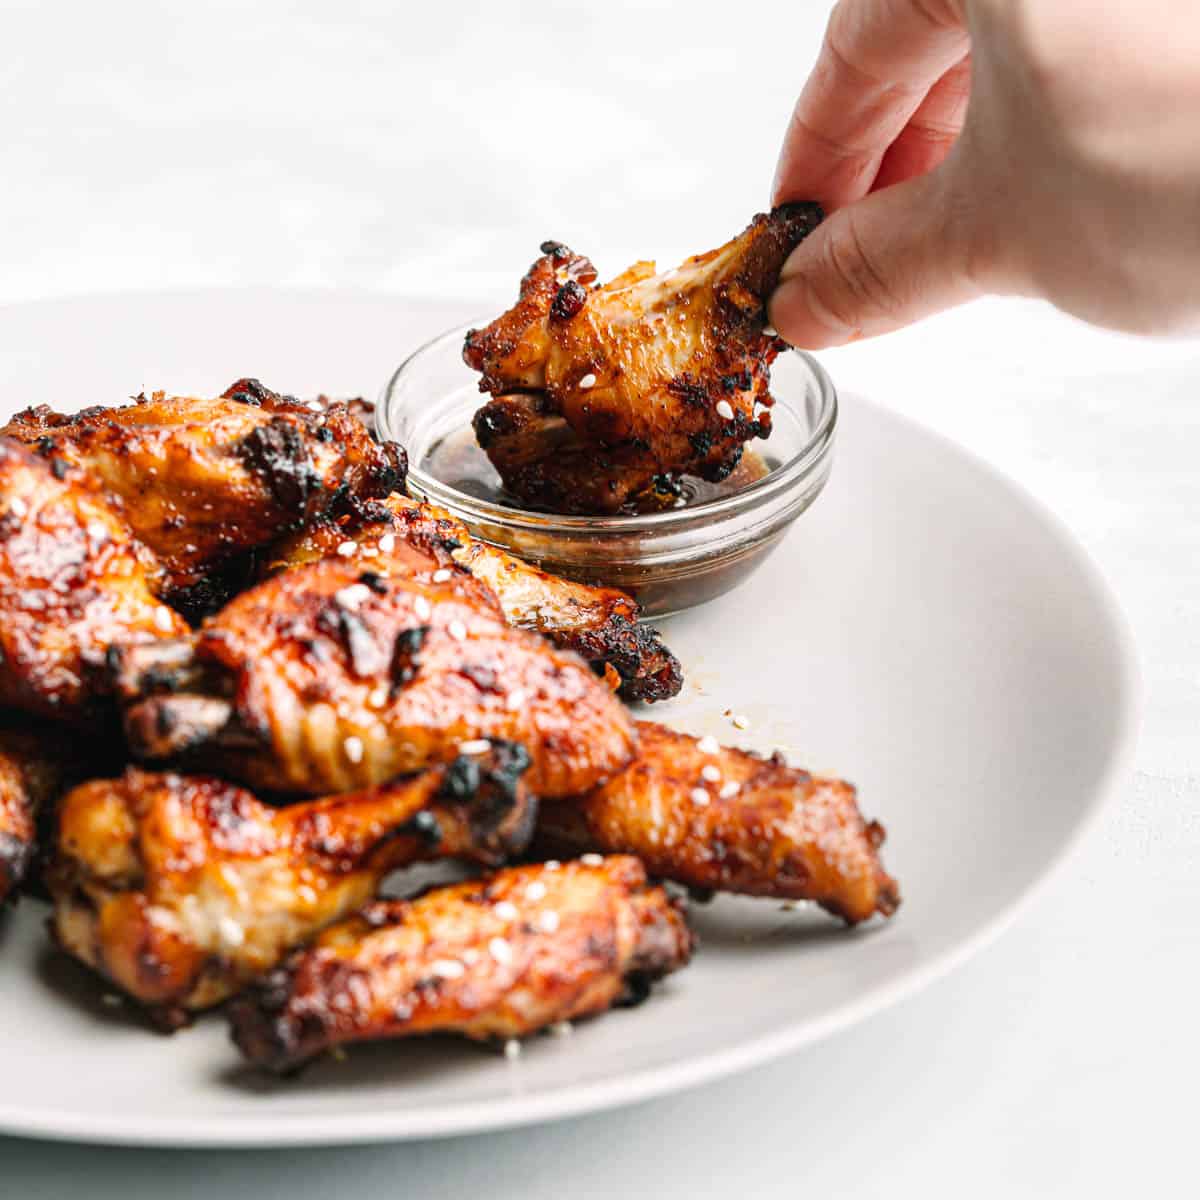
Another reason I'm such a fan is that you can completely change the taste by simply modifying the homemade sauce that you coat them with.
I sometimes prepare two or three types of sauces, then mix them up (similar to a wings restaurant, but at a fraction of the price).
The Best Sauce for Wings
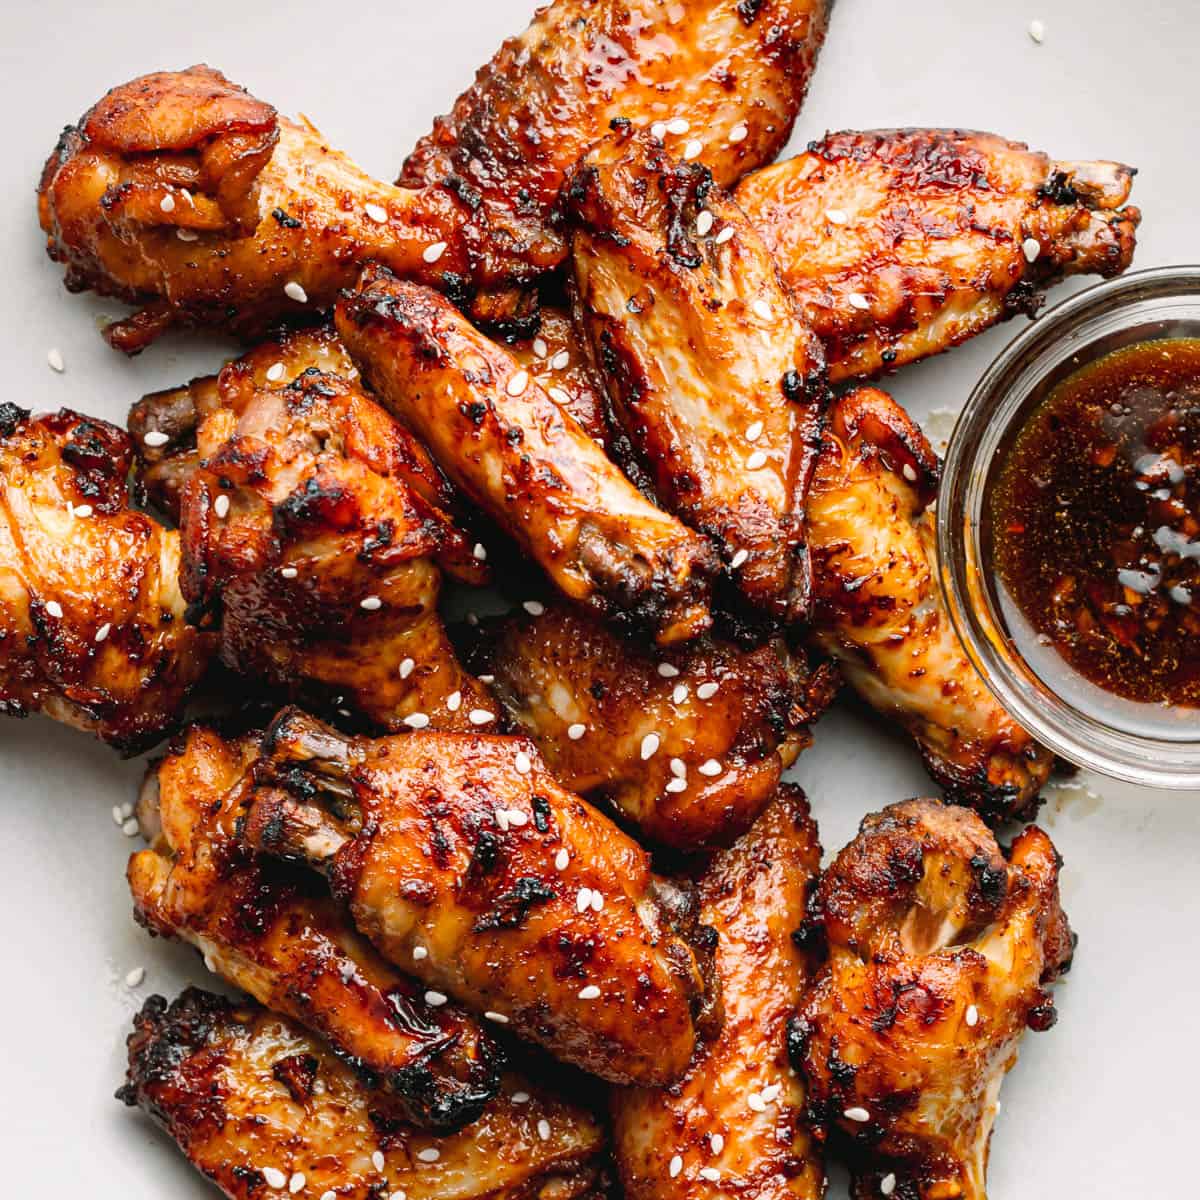
Making your own sauce for wings from scratch isn't as difficult as you think. The sweet and sticky sauce is so delicious and addictive. It has the perfect balance of sweet, savory, and salty flavors.
The sauce is made of soy sauce, brown sugar, apple cider vinegar, ginger, honey, and garlic.
How to Cook Sticky Chicken Wings in a Pressure Cooker
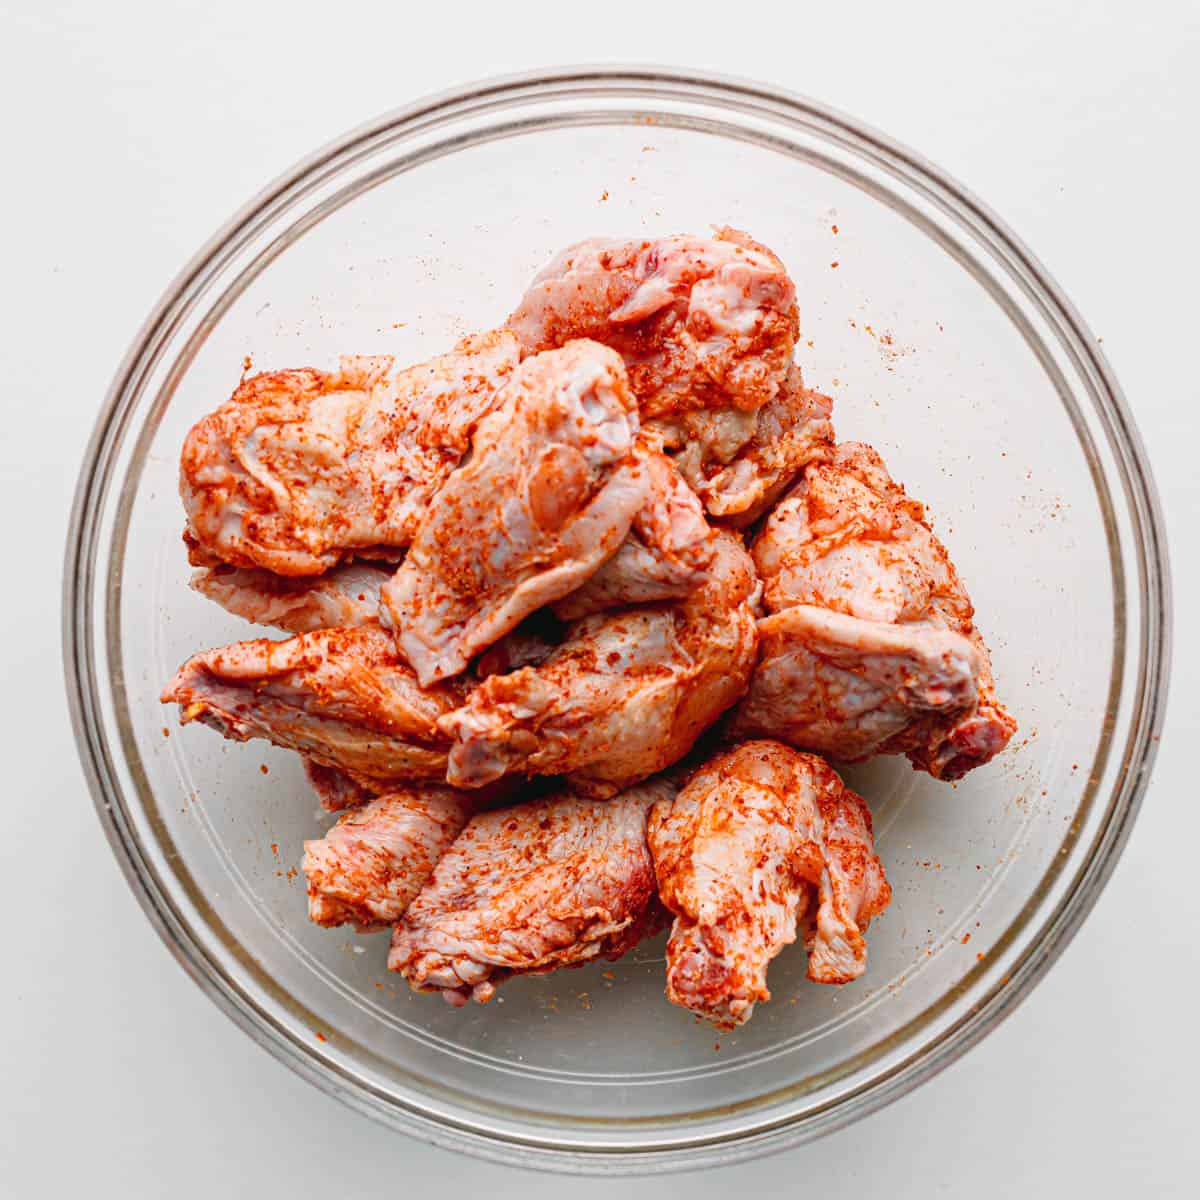
Step 1. Season the Chicken Wings with Dry Rub
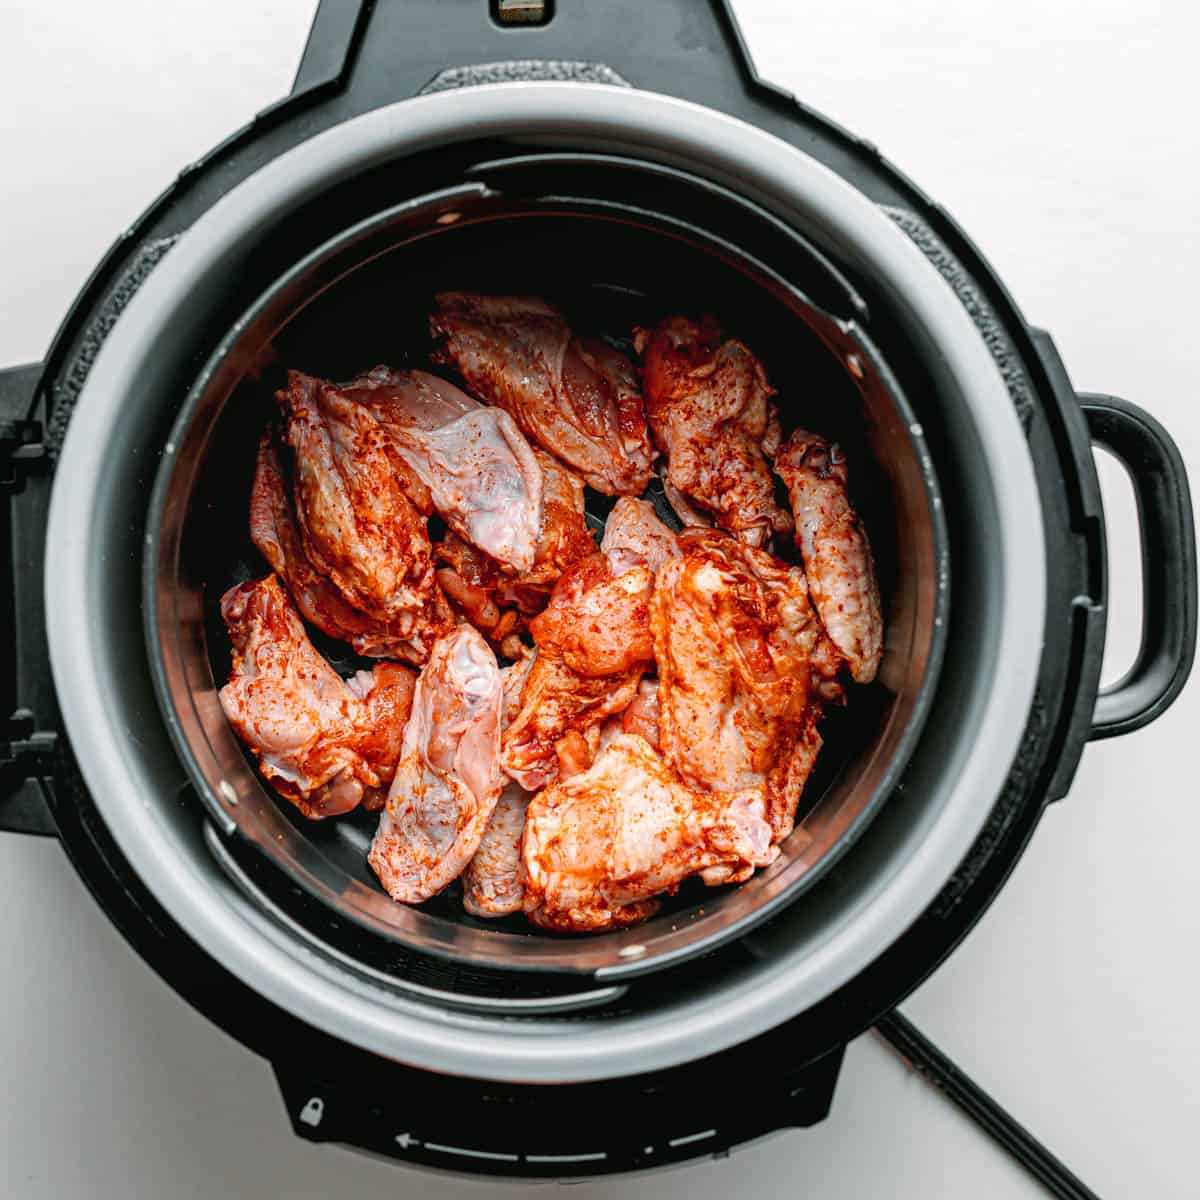
- Pat the chicken wings dry with paper towels.
- In a large bowl, add chicken wings, garlic powder, paprika, kosher salt, cayenne pepper, and black pepper. Toss to coat.
Step 2. Pressure Cook the Chicken Wings
- Add 1 cup of water to the pot.
- Place the rack or steamer basket in the pot.
- Arrange chicken wings in a basket.
- Secure the lid. Cook on Manual for 5 minutes. Once the cooking is completed, let the pressure release naturally.
Step 3. Make the Sweet and Sticky Sauce
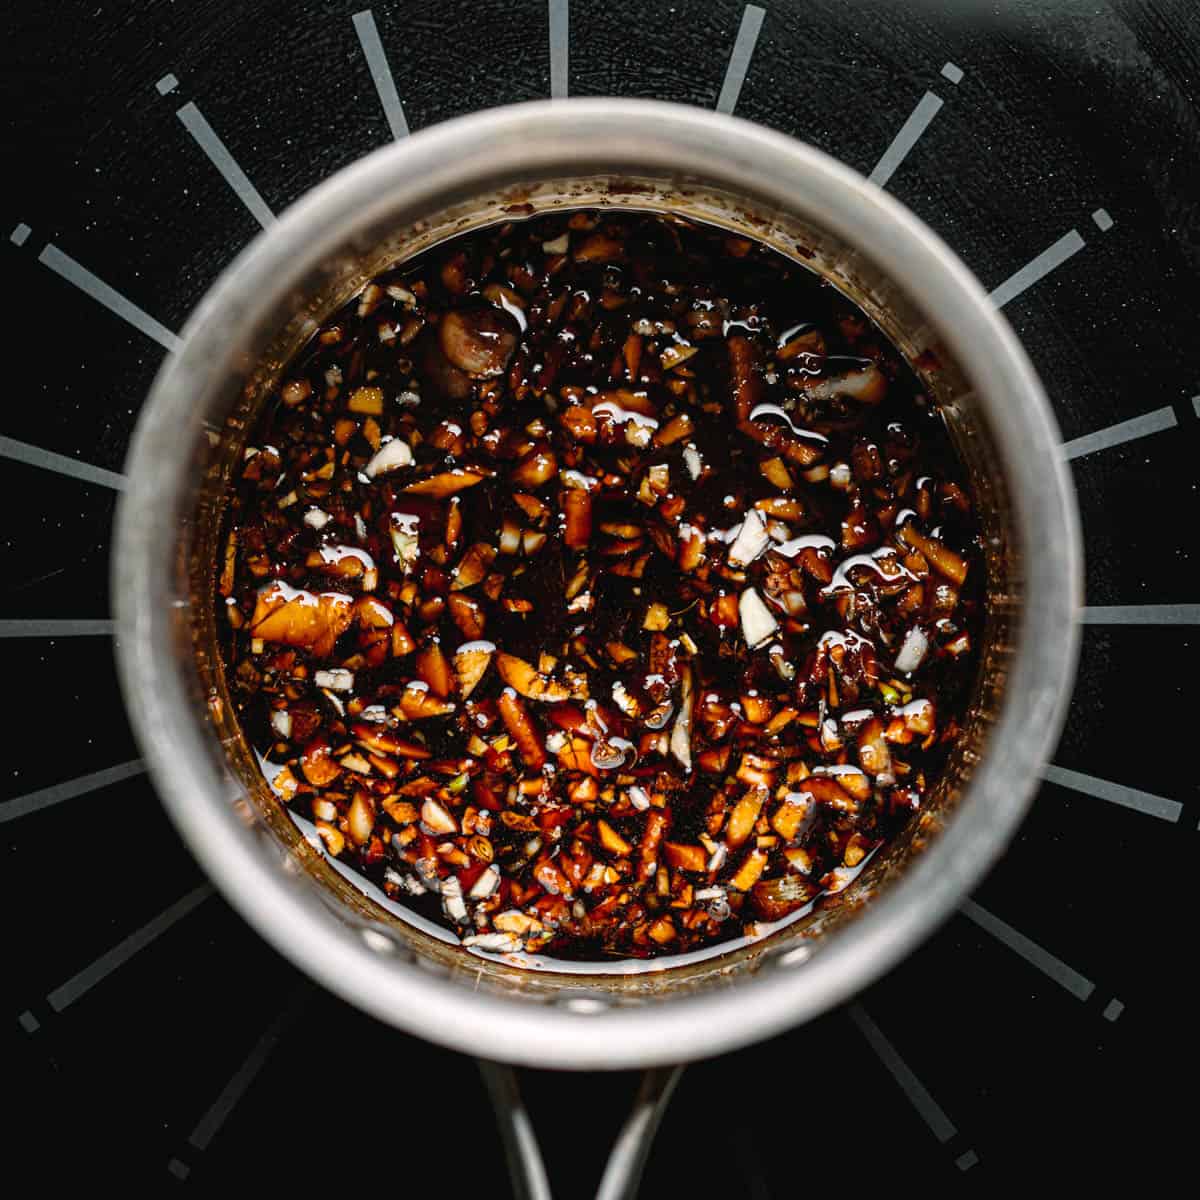
- In a medium saucepan, add soy sauce, garlic, ginger, honey, brown sugar, and apple cider vinegar.
- Bring the mixture to a boil over medium heat. Lower the heat then simmer for 3-4 minutes or until thickened. Reserve about 2 tablespoons of sweet and sticky sauce for serving
Step 4. Crisp the Chicken Wings (with Ninja Foodi Air Crisp or Broiler)
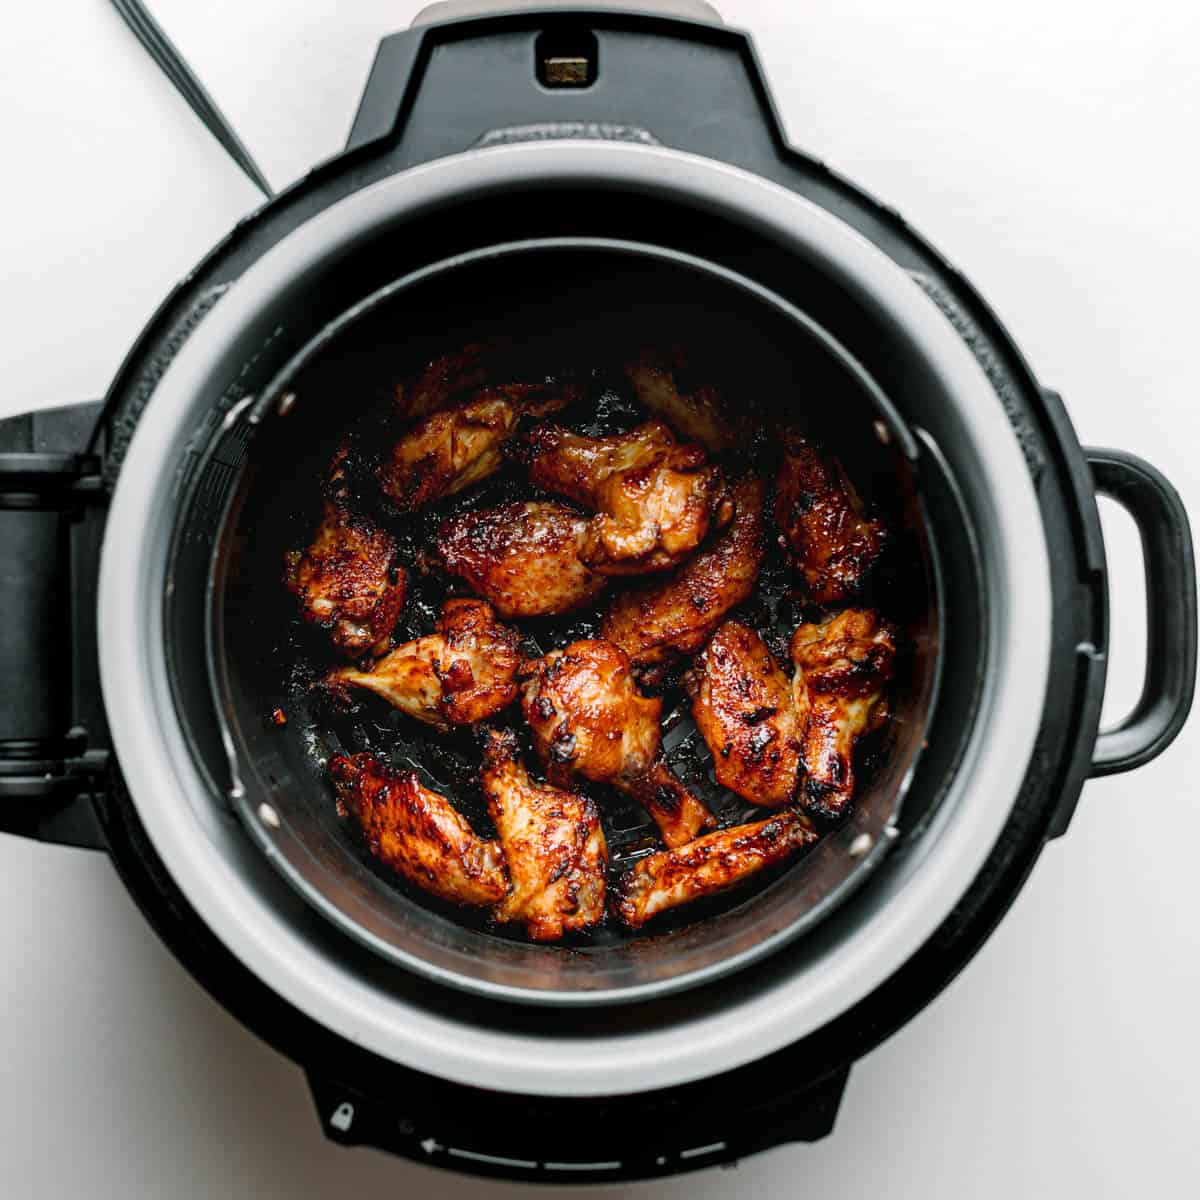
- Transfer the cooked chicken wings to a large bowl. Add melted butter and the remaining sweet and sticky sauce. Toss to coat.
- Transfer the seasoned chicken wings back into the Ninja Foodi basket.
- Select AIR CRISP, set the temperature to 390°F, and set the time to 15 minutes. Select START/STOP to begin. Open every 3-5 minutes to check for the crispness of your desire.

Alternatively, if you are using an Instant Pot you can crisp the chicken wings in the broiler.
- Arrange the wings on the wire rack one above center position inside the broiler. Cook until crisp, about 3-6 minutes, turning pan once halfway through.
- Remove from the oven and pour in the remaining sauce before serving, toss to coat. Serve and Enjoy.
FAQ and Cooking Tips:
First, let the chicken wings cool down at room temperature, no longer than two hours. Store the wings to an airtight container. Properly stored, they will last 3-4 days in the refrigerator or 4-6 months in the freezer.
You can still make this recipe using a conventional oven. Simply bake the chicken wings in the oven at 425° for about 30 minutes or until the internal temperature reaches 165°F.

Check Out More Delicious Chicken Wings Recipes:
- Crispy Grilled Chicken Wings
- Garlic Parmesan Chicken Wings
- Dry Rub Chicken Wings
- Buffalo Chicken Wings
- Thai Chicken Wings
📖 Recipe
Ninja Foodi Chicken Wings with Sweet and Sticky Sauce
Ingredients
- 2 pounds chicken wings , (drumettes and flats, pat them dry with paper towels).
Dry Rub:
- 1 teaspoon garlic powder
- 1 teaspoon ground paprika
- 1 teaspoon kosher salt
- ¼ teaspoon cayenne pepper
- ½ teaspoon black pepper
Sweet and Sticky Sauce:
- 2 tablespoon soy sauce
- 3½ tablespoons brown sugar
- 1 tablespoon honey
- 1 tablespoon minced garlic
- 1 tablespoon minced ginger
- 1½ tablespoons apple cider vinegar
For Crisping:
- ¼ cup melted butter
Instructions
- In a large bowl, add chicken and dry rub. Toss to coat.
- Add 1 cup of water and put a basket into the pot. Arrange chicken wings in a basket. Secure the lid, select the "Manual" setting and cook on High Pressure for 5 minutes. Once the cooking cycle is completed, let the pressure release naturally.
- Bring the sweet and sticky sauce ingredients to a boil over medium heat. Lower the heat then simmer for 3-4 minutes or until thickened. Reserve about 2 tablespoon of sweet and sticky sauce for serving.
- In a large bowl, add chicken wings, melted butter, and the remaining sweet and sticky sauce. Toss to coat.Select the AIR CRISP, 390°F, and set time to 15 minutes. Open every 3-5 minutes to check for the crispness of your desire.
- Serve the chicken wings with the reserved sweet and sticky sauce.
Notes
- Transfer the cooked chicken wings into a large bowl. Pour half of the sweet and sticky sauce, toss to coat. Reserve the remaining sauce for serving.
- Arrange the wings on the wire rack one above center position inside the broiler. Cook until crisp, about 3-6 minutes, turning pan once halfway through.
- Remove from the oven and pour in the remaining sauce before serving, toss to coat. Serve and Enjoy.




Kathy Curtis says
This is the best wing recipe I've made to date! Fairly easy to make & the flavors are "all there"! The pressure cooking step is the key, making them tender & juicy. My meat lover husband had seconds & thanked me more than once for trying this. It'll go into my "favorites" board. Thank you. 😊
Rika says
Hi Kathy,
So glad you loved it! The pressure-cooking step really does make them super tender and juicy. Love that it’s husband-approved too! Thanks for adding it to your favorites! If you’re into chicken wings, be sure to check out my crispy grilled chicken wings.
Thanks,
Rika